Albania
 Argentina
 Australia
 Austria
 Belgium
 Bosnia and Herzegovina
 Brazil
 Bulgaria
 Canada
 Chile
 Colombia
 Croatia
 Czech Republic
 Denmark
 Estonia
 Finland
 France
 Germany
 Greece
 Hungary
 Ireland
 Italy
 Latvia
 Lithuania
 Luxembourg
 Mexico
 Moldova
 Montenegro
 Netherlands
 New Zealand
 North Macedonia
 Norway
 Philippines
 Poland
 Portugal
 Romania
 Serbia
 Slovakia
 Slovenia
 South Africa
 Spain
 Sweden
 Switzerland
 Turkey
 Ukraine
 United Kingdom
 United States of America


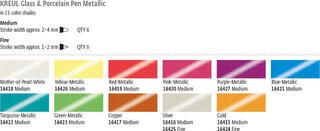
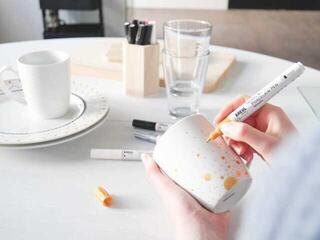
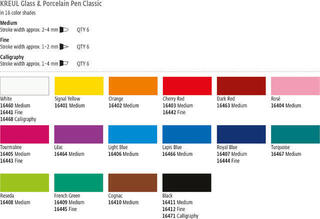
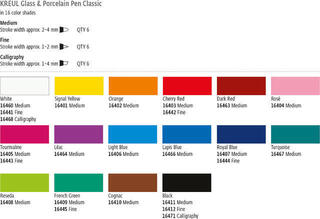
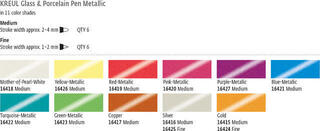
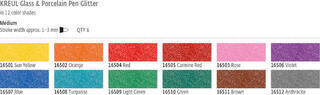
Markers for Glass
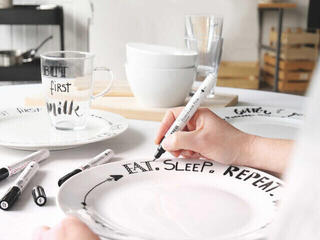
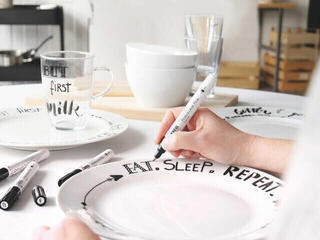
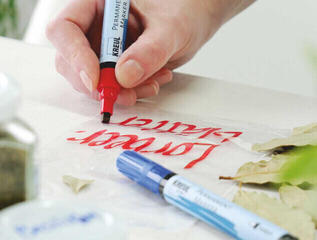
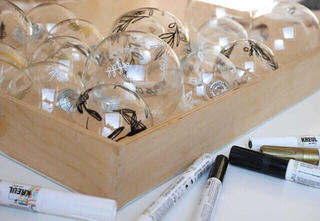
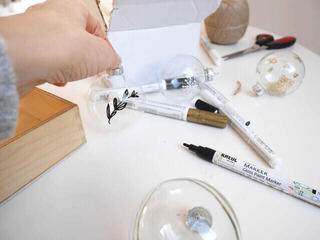
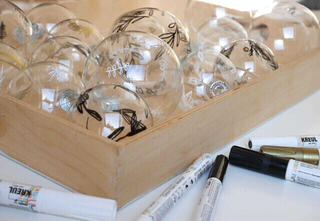
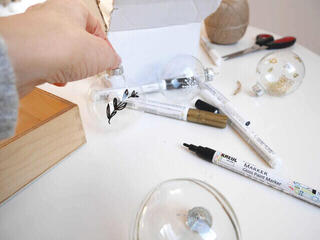
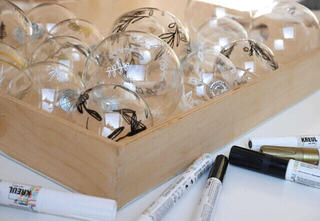
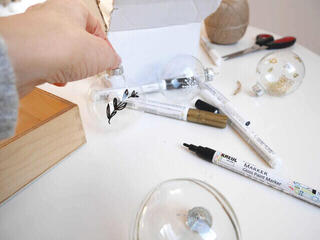
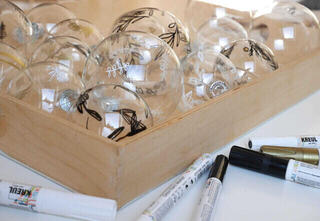
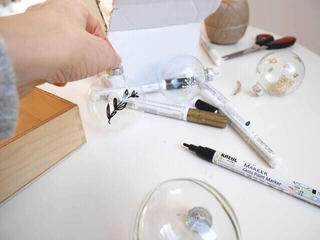
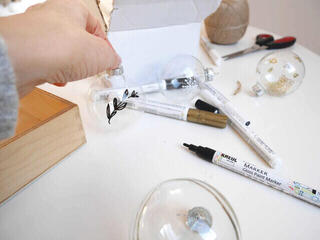
Glass markers must create a continuous mark on a smooth surface that absorbs almost no color. Degreasing, drying time, and fixing method are therefore important. A transparent marker works with light passing through the glass, while an opaque one creates a bold ornament. Durability depends on the specific product, not merely the line thickness.
Preparation without cleaner residue
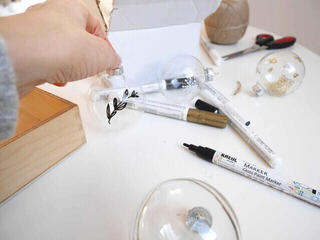
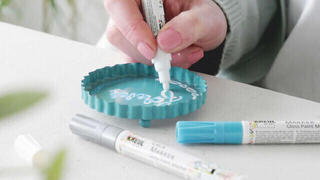
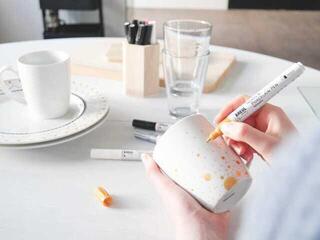
Wash and degrease the glass, then polish it dry with a lint-free cloth. Do not touch the design area after cleaning. Position the item so it does not rotate while you draw and place a support under your hand. Work in shorter sections on a curved glass.
A transparent or opaque mark
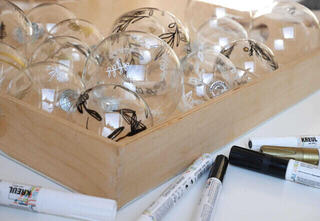
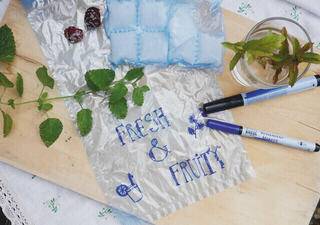
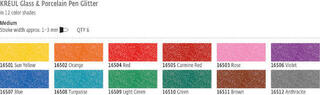
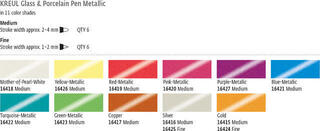
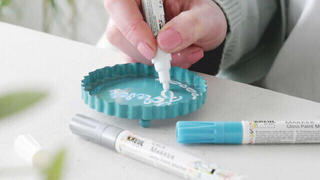
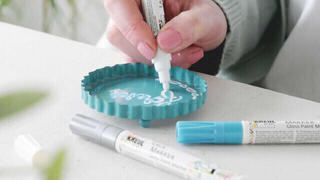
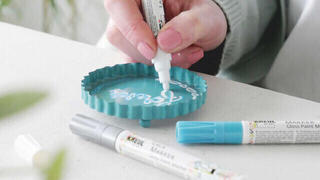
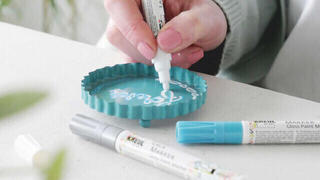
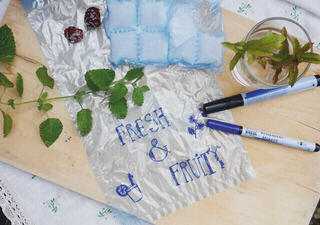
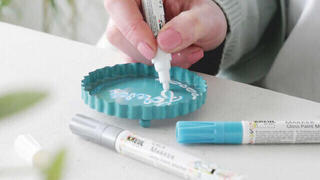
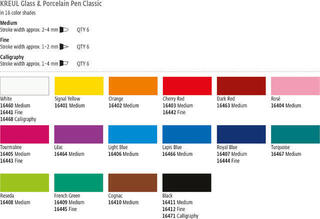
Transparent shades stand out on a vase, window, or candle holder because they use transmitted light. An opaque marker is more legible on colored glass and for lettering. A fine tip controls outlines, while a broader tip makes filling areas easier but increases the risk of an uneven application. Add each subsequent layer only after the previous one has dried sufficiently.
- Transparent marker: light passes through the design.
- Opaque marker: bold ornaments, even on colored glass.
- Fine tip: precise lines; broad tip: faster coloring.
Curing according to the instructions
If the manufacturer specifies heat fixing, follow the temperature, time, heating method, and cooling procedure. For air-curing products, do not accelerate the process unless permitted. Wash the decoration only after it has cured completely and only in a way allowed by the manufacturer. Leave areas near the rim of a glass or in contact with food undecorated unless the marker is explicitly approved for such use.
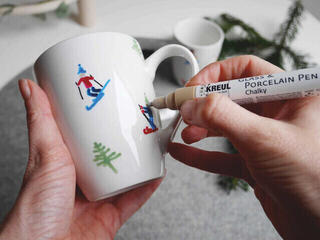
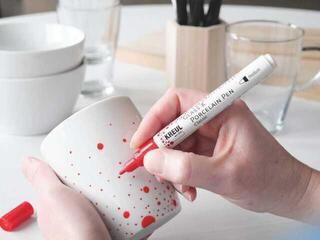
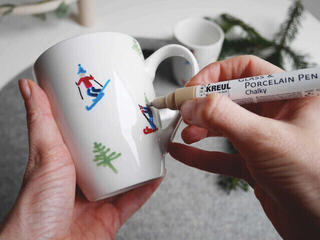
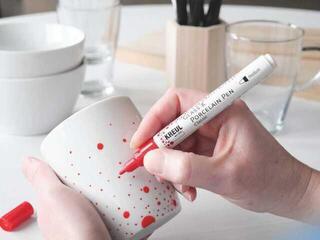
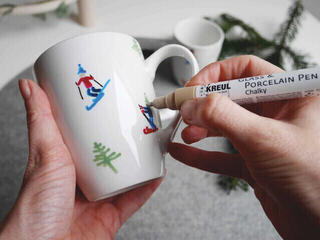
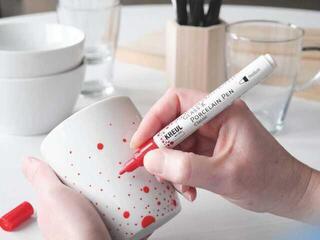
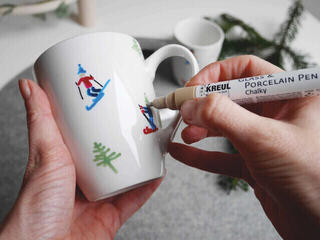
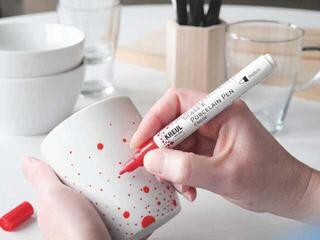
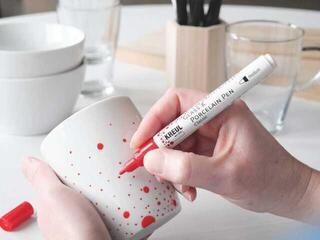
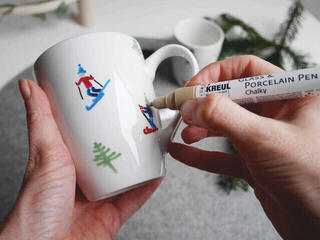
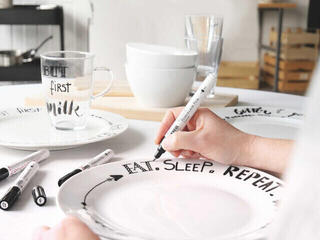
Glass, porcelain, and ceramics
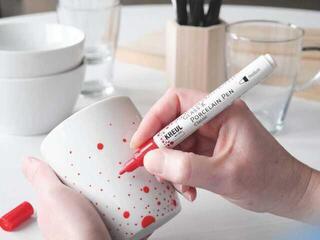
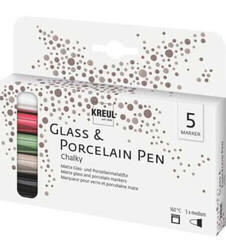
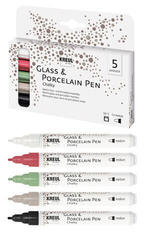
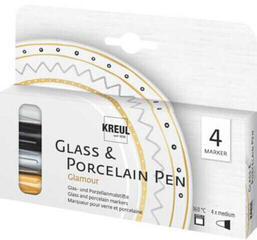
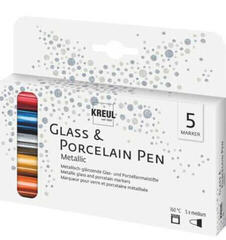
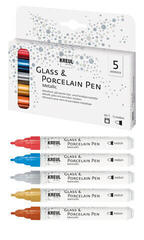
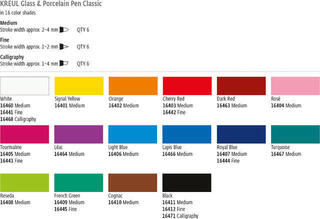
A marker intended for glass may not require the same procedure on porcelain. For porcelain, choose Porcelain Markers; Glass Paints offer broader painting options. The entire range of materials is grouped under Glass and Porcelain Painting.