 Albania
 Argentina
 Australia
 Austria
 Belgium
 Bosnia and Herzegovina
 Brazil
 Bulgaria
 Canada
 Chile
Chile
 Colombia
 Croatia
 Czech Republic
 Denmark
 Estonia
 Finland
 France
 Germany
 Greece
 Hungary
 Ireland
 Italy
Italy
 Latvia
 Lithuania
 Luxembourg
 Mexico
 Moldova
 Montenegro
 Netherlands
 New Zealand
 North Macedonia
 Norway
 Philippines
 Poland
 Portugal
 Romania
 Serbia
 Slovakia
 Slovenia
 South Africa
 Spain
Spain
 Sweden
 Switzerland
 Turkey
 Ukraine
 United Kingdom
 United States of America



Home studio: how to set it up for recording music
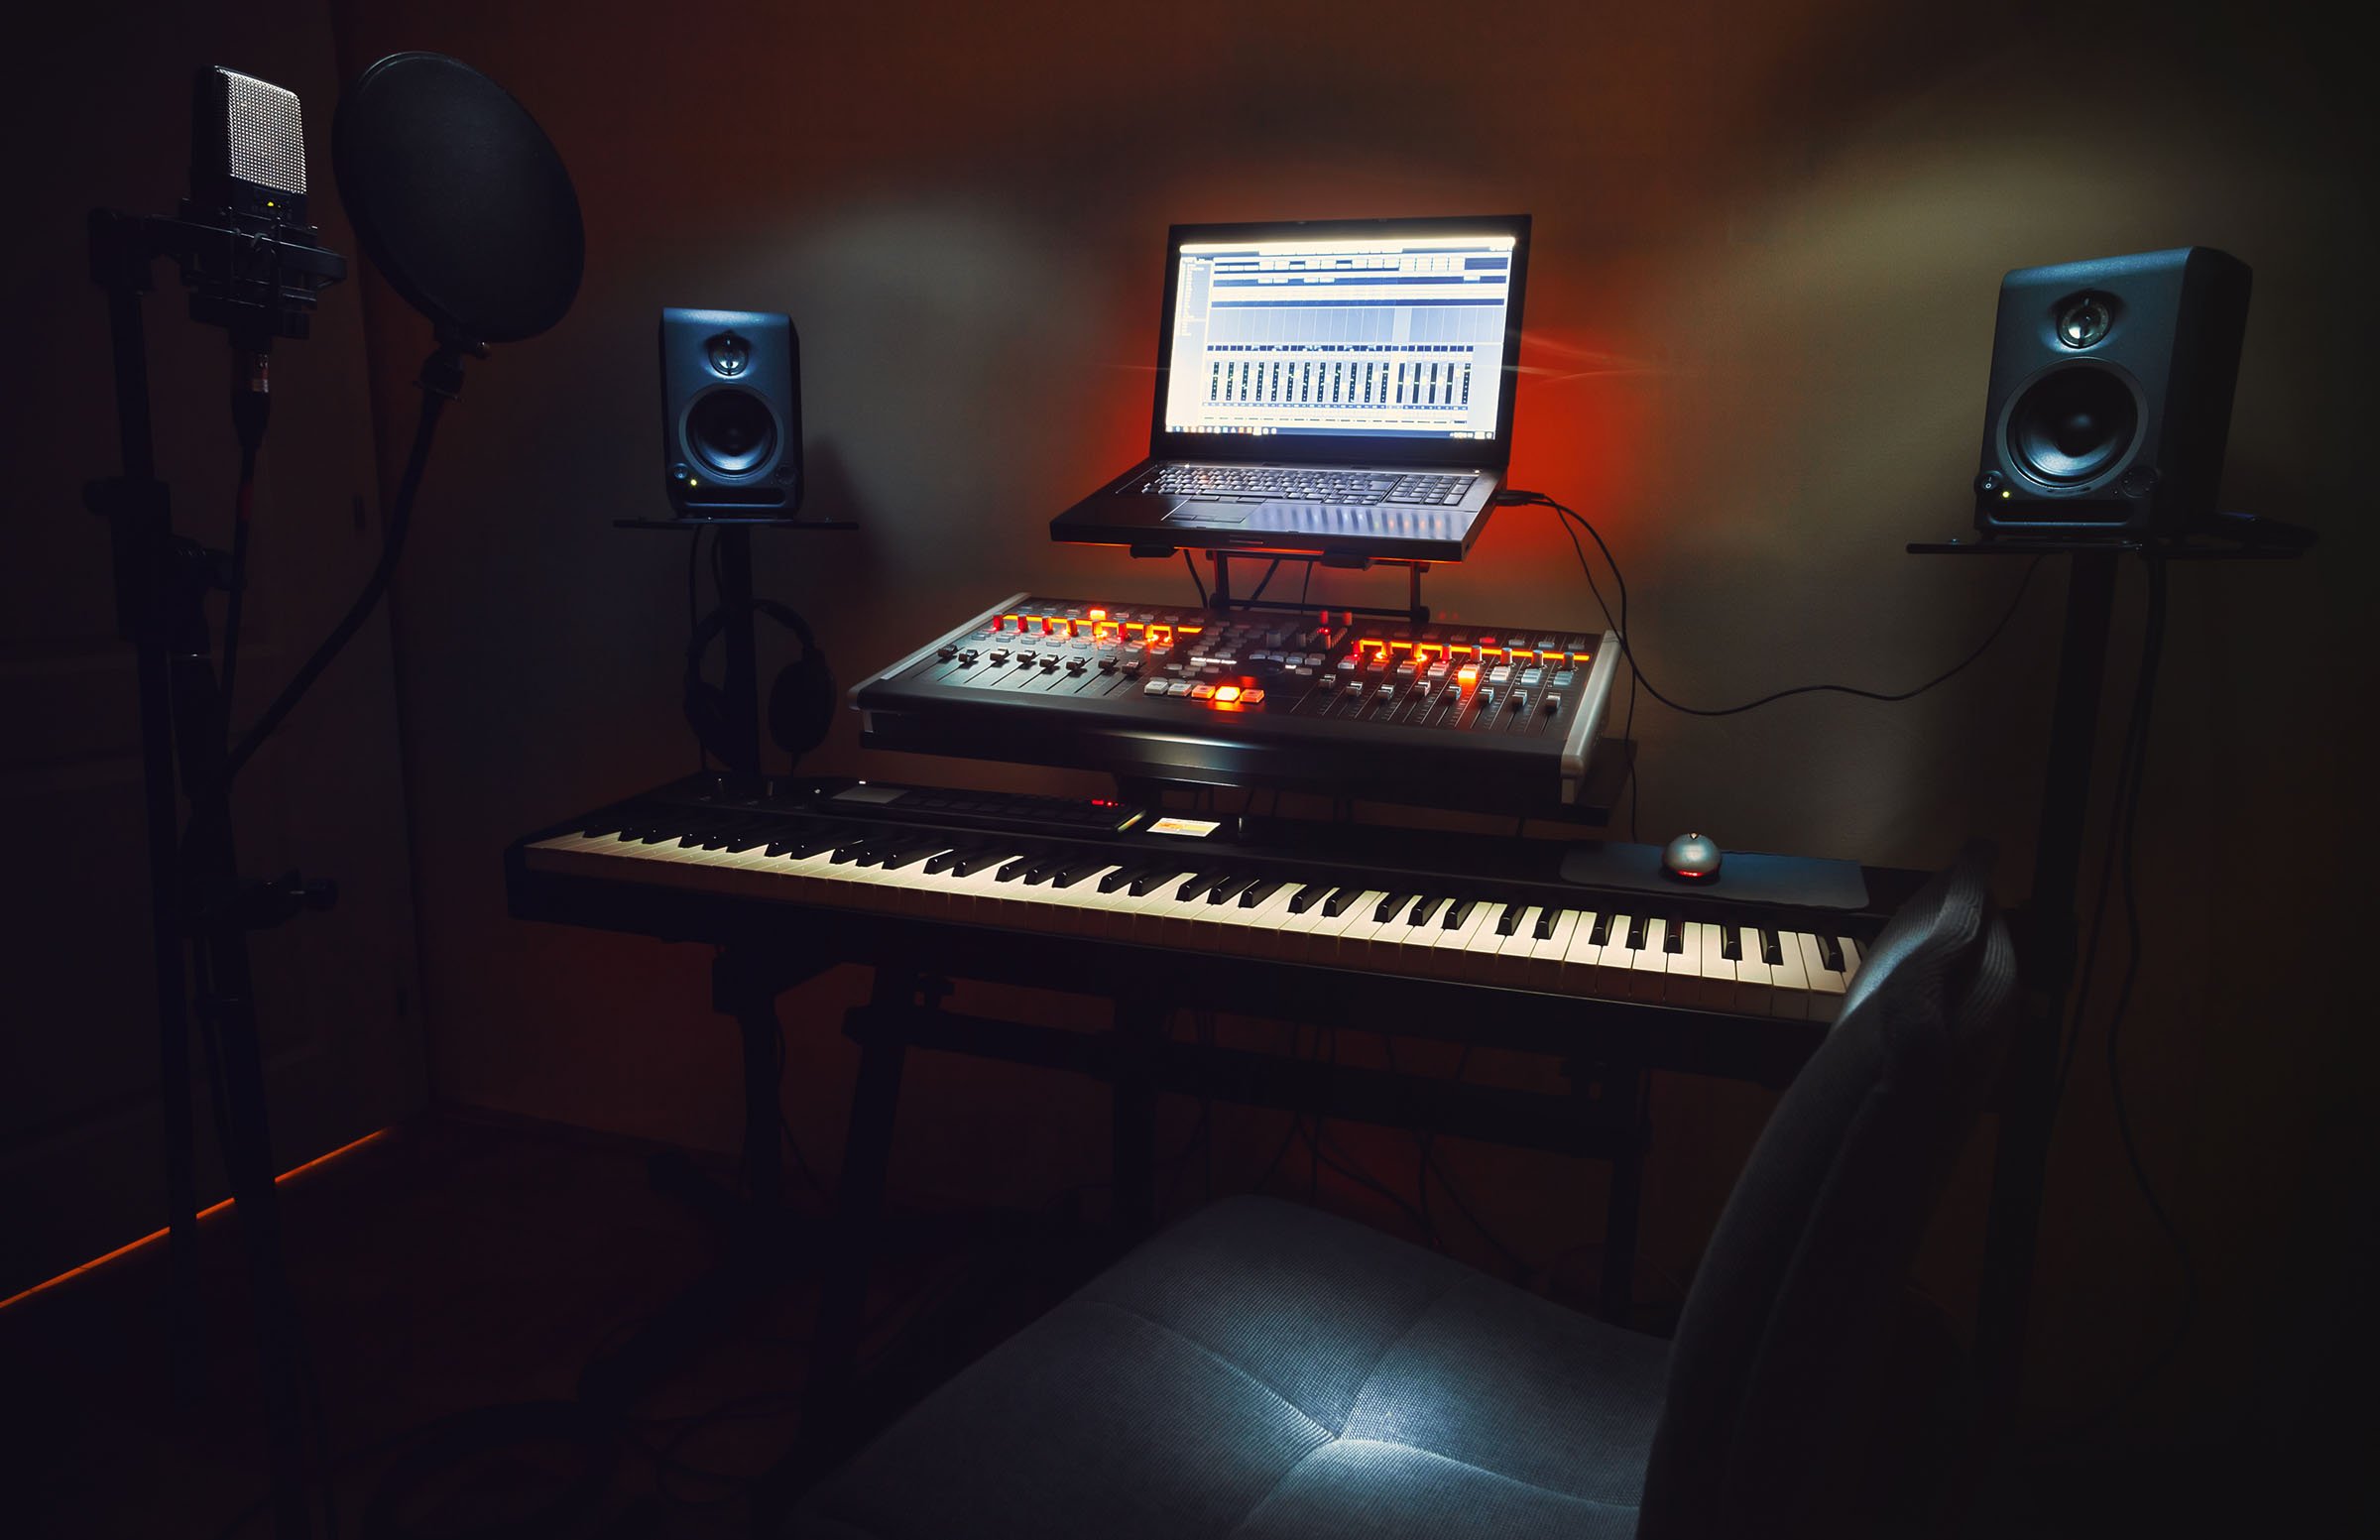
Home studio space: start with peace and space
A home studio starts with a place where you can focus. A separate room works best, but if you don't have one, a stable corner in a less-used room will do. It is important that you are not disturbed by normal household noise while recording and that you do not have to completely disassemble the equipment after each job.
When choosing a place, remember that a home recording studio is not just a microphone placed on a table. You will need space for a computer or laptop, an audio interface or sound card, a screen, a microphone, cables, a stand and a monitoring setup such as studio monitors or headphones. If everything is crammed into the living room or onto the desk with no spare space, working with sound quickly turns into fighting clutter.
A practical foundation is a sturdy desk, comfortable seating and storage for small accessories. Keep adapters, short cables, spare connectors and smaller accessories in a drawer or box. That way, when recording, you can focus on the music instead of searching for the right cable.
How much to invest: don't cut corners where sound matters
A home studio can be started sensibly, but equipment that is too cheap can hold you back. Poor monitoring, unstable recording or a slow computer will show up directly in your work: you hear fewer details, the recording crackles, the project loads slowly and the creative idea disappears before you capture it.
If you are just starting out or want to use the studio mainly in your free time, you do not need to buy professional equipment. It is better to choose a reliable middle ground: devices that will handle your current needs and at the same time will not force you to immediately replace them after the first recordings.
Short answer: you do not need the most expensive equipment to begin with. You need a quiet place, a microphone suitable for your type of recording, an audio interface or USB microphone, studio monitors or headphones for monitoring, and a computer that can run your music software reliably.
How to set up a home studio: the basic set-up
If you're wondering how to set up a home studio for your first recordings, start simple. For most beginners, these three parts are the most important:
- studio microphone,
- sound card,
- studio monitor or reliable monitoring.
As you record more often, more things will be added: a more powerful computer, music software, stands, headphones, cables, acoustic accessories and practical storage solutions. You don't have to buy them all at once. It is important to know what in your signal path fulfills what role.
- Microphone captures a voice or an instrument.
- Sound card transfers the signal to the computer.
- Computer and software they are used for recording, editing and mixing.
- Monitors or headphones I'll show you what's really going on in the recording.
Studio equipment
Step into the world of professional audio production. Choose studio equipment that helps you achieve better recordings, mixes and masters. You will find microphones, audio interfaces, studio monitors, controllers, headphones and software. Equip your studio like a pro.
Expert advice
If you are just starting out, the computer you already have at home is often enough. Before you buy a new one, try a smaller project in a music program and see if the system can handle recording without cutting, delay and dropouts.
Studio microphone: choose according to what you're recording
The microphone is the first element of the recording. There is no one-size-fits-all model, so it's worth starting with the question: will you be recording vocals, spoken word, guitar, acoustic instruments or multiple sources at once?
When recording at home, the room matters too. A more sensitive microphone captures more detail, but also more noise, reflections and sounds from the surroundings. A less sensitive dynamic microphone can therefore be a better choice in an untreated room than a very detailed condenser microphone.
Dynamic microphone
Dynamic microphones are often used on stage, when singing, and when recording guitar or bass instruments. In the home studio, they are especially useful when the room is not completely quiet or if you want to limit the surrounding noise.
Their advantage is durability, ease of use and favorable price. If you record vocals in a regular room or need a microphone for rehearsals or live performances, a dynamic model can be a safe start.
Condenser microphone
Condenser microphones are suitable for vocals, acoustic instruments and situations where you want to capture more detail. That is why they are often used in studios. However, they can be more sensitive to room noise, wall reflections and acoustic problems in the space.
If you choose a condenser microphone, also check whether your audio interface or sound card supports 48 V phantom power. This is not required for every microphone, but it is essential for many condenser models.
USB microphone
A USB microphone is the fastest way to make your first recording. You plug it directly into the computer and can start recording speech, demo vocals or a simple instrument without a separate audio interface or sound card.
It is especially suitable for podcasts, videos, quick ideas and simple home recordings. If, over time, you want to connect more instruments, use studio monitors and have more control over inputs, a separate audio interface or sound card will be more practical.
Ribbon microphone
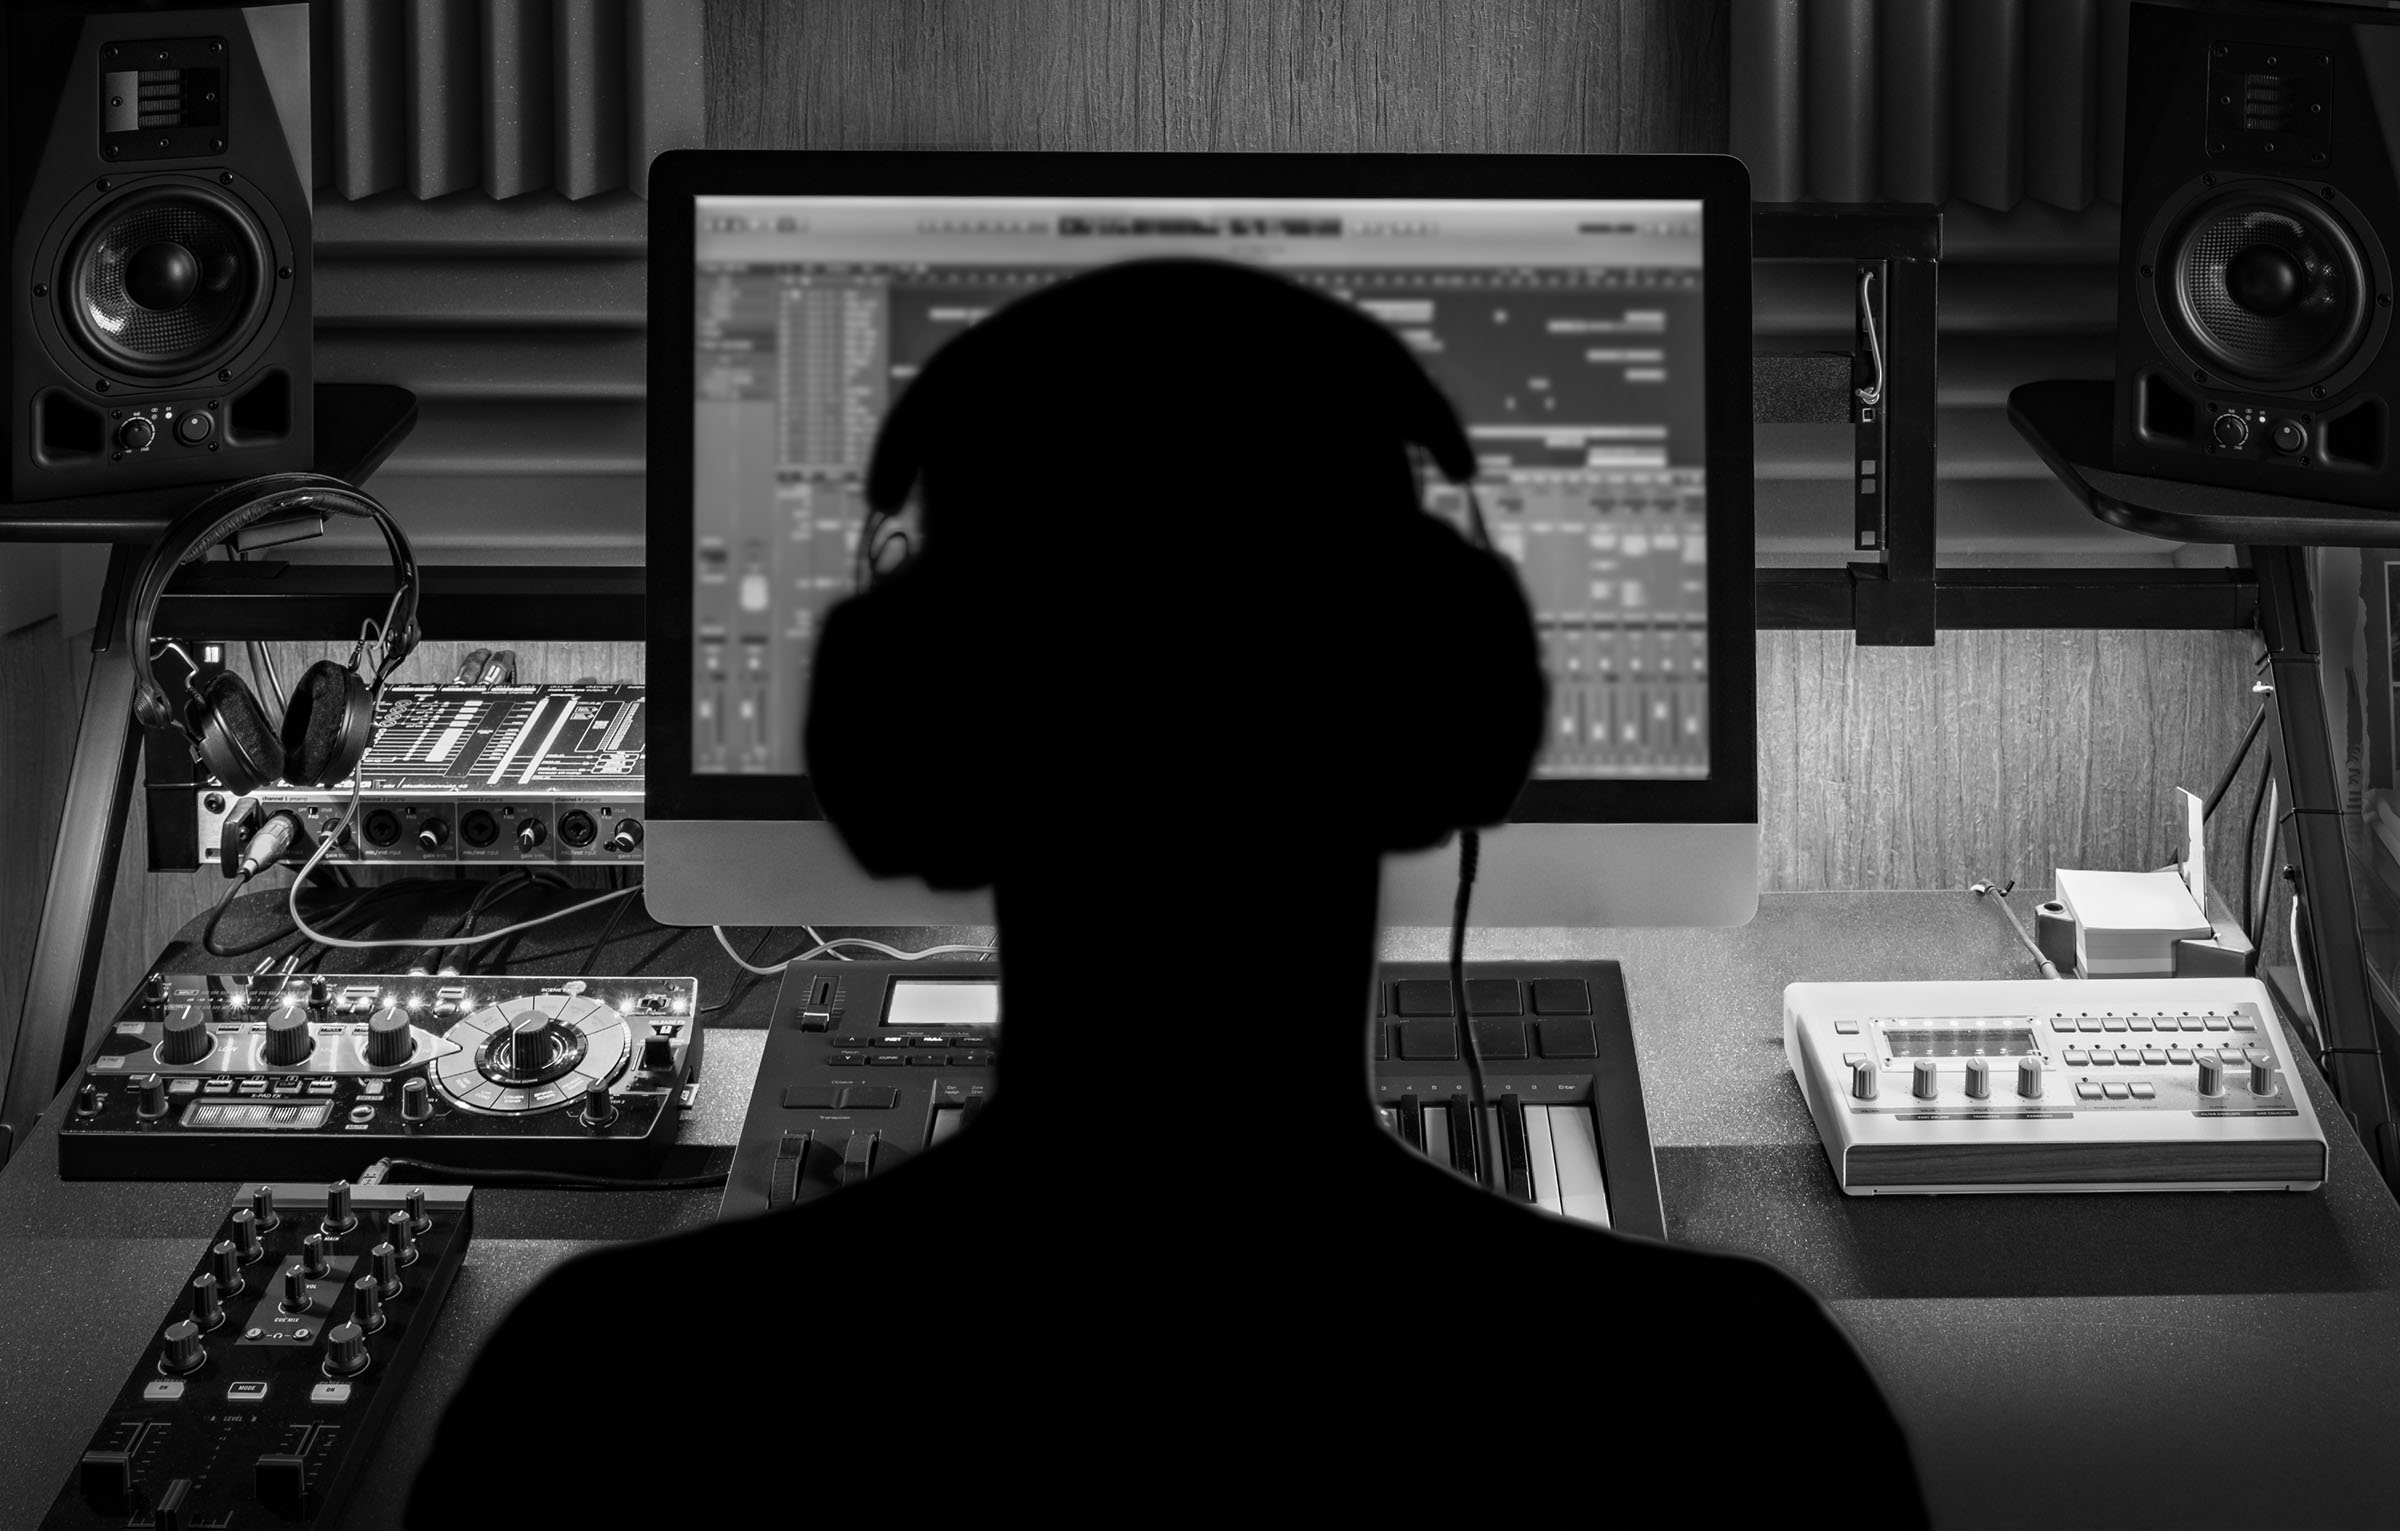
Ribbon microphones are a more specific choice. They can deliver a very natural, soft and faithful sound, which is why they are used for singing and acoustic instruments. However, they are not the typical first purchase for every beginner.
If you are just building the foundation of your home studio, first get clear on working with a dynamic, condenser or USB microphone. The tape model makes more sense when you already know what kind of sound you are looking for.
Sound card: the center of the recording path
A sound card is a device that connects a microphone, an instrument, a computer, and a monitor. You can connect a microphone, guitar, violin or other instrument to its inputs and get a cleaner, more controlled recording than with a common built-in solution in a computer.
Its task is simple: it converts the analog signal from the microphone or instrument into a digital track, which you then work with in the music software. When choosing, pay particular attention to the number of inputs, the type of connectors, the stability of the controls, the volume control and whether you need 48 V phantom power.
Short answer: A USB microphone is enough if you want simple recording from one source. An audio interface or sound card is better when you want to connect more devices, use studio monitors and gradually build a more flexible home studio.
Studio monitors and headphones: listen to the recording without embellishment
Studio monitors are designed for more accurate listening. Unlike regular speakers, they are not meant to make music sound nicer, but to show what is too loud, too quiet, unclear or too bass-heavy in the recording.
For a smaller room, it often makes sense to start with reasonably large monitors and position them properly on a table or stands. You will also appreciate it when working quietly, recording vocals or mixing in the evening studio headphones. It is ideal to have both at times: monitors for space and headphones for detail.
Also consider if the room has significant echoes or bass problems studio acoustic elements. Even a simple improvement in acoustics can help you make more confident decisions when recording and mixing.
Computer: Windows or Mac, performance reserve is important
You can use a desktop computer or a laptop to work in your home studio. Many musicians work on a Mac, others use Windows setups; the decisive factor is not the logo on the device, but stability, enough memory and power reserve for projects with multiple tracks and effects.
The larger screen will help you edit, mix and work with multiple tracks. If you use a laptop, you can supplement it with an external monitor, keyboard and mouse. You get the convenience of a desktop solution and still have the ability to transfer projects.
Expert advice
Don't just look at the name of the processor. For music software, look for enough RAM, fast storage, stable operation of the sound card and reserve for more tracks, virtual instruments and plugin effects. If a project starts to crackle or lag during recording, the problem may not be the musician, but an overloaded set.
Software: where a recording is turned into a song
Music software, often referred to as a DAW, is used to record, cut, edit, mix and export the finished recording. For a home studio, browse our DAW recording software category, where you will find programs for working with tracks, instruments and effects.
Musicians working with electronic music also often use Ableton Live. It has advanced functions and a different way of working, so it takes a while to get used to it. When choosing software, be guided mainly by what you want to create: vocals and instruments, podcasts, electronic music, or a combination of everything.
In the beginning, the free or basic version of the program may be enough for you. When you find that you are limited by the number of tracks, available effects or working with virtual instruments, only then does it make sense to upgrade to a higher version.
Accessories, cables and order in the studio
Accessories decide whether you can work comfortably in the studio. A microphone stand, pop filter, holders, headphones, adapters and quality cables may not look as attractive as a new microphone, but you will appreciate them immediately in everyday work.
A signal path in a simple home studio might look like this: microphone or instrument → sound card → computer → studio monitors or headphones. When you understand this path, it's easier to find fault with noise, dropouts, or a quiet signal.
To keep your home studio from becoming a cable maze, stick to a short list:
- choose cables according to the real signal path, not according to random length,
- mark the cables that you often disconnect and move,
- power and signal cables separately, if space allows,
- loosely roll up the cables after work and store them safely so that they do not damage the connectors.
If you want to go into more detail, read the guide how to deal with cable chaos in music equipment. A home studio is not just about aesthetics — tidy cabling saves time and reduces the risk of technical problems.
A quick checklist before your first upload
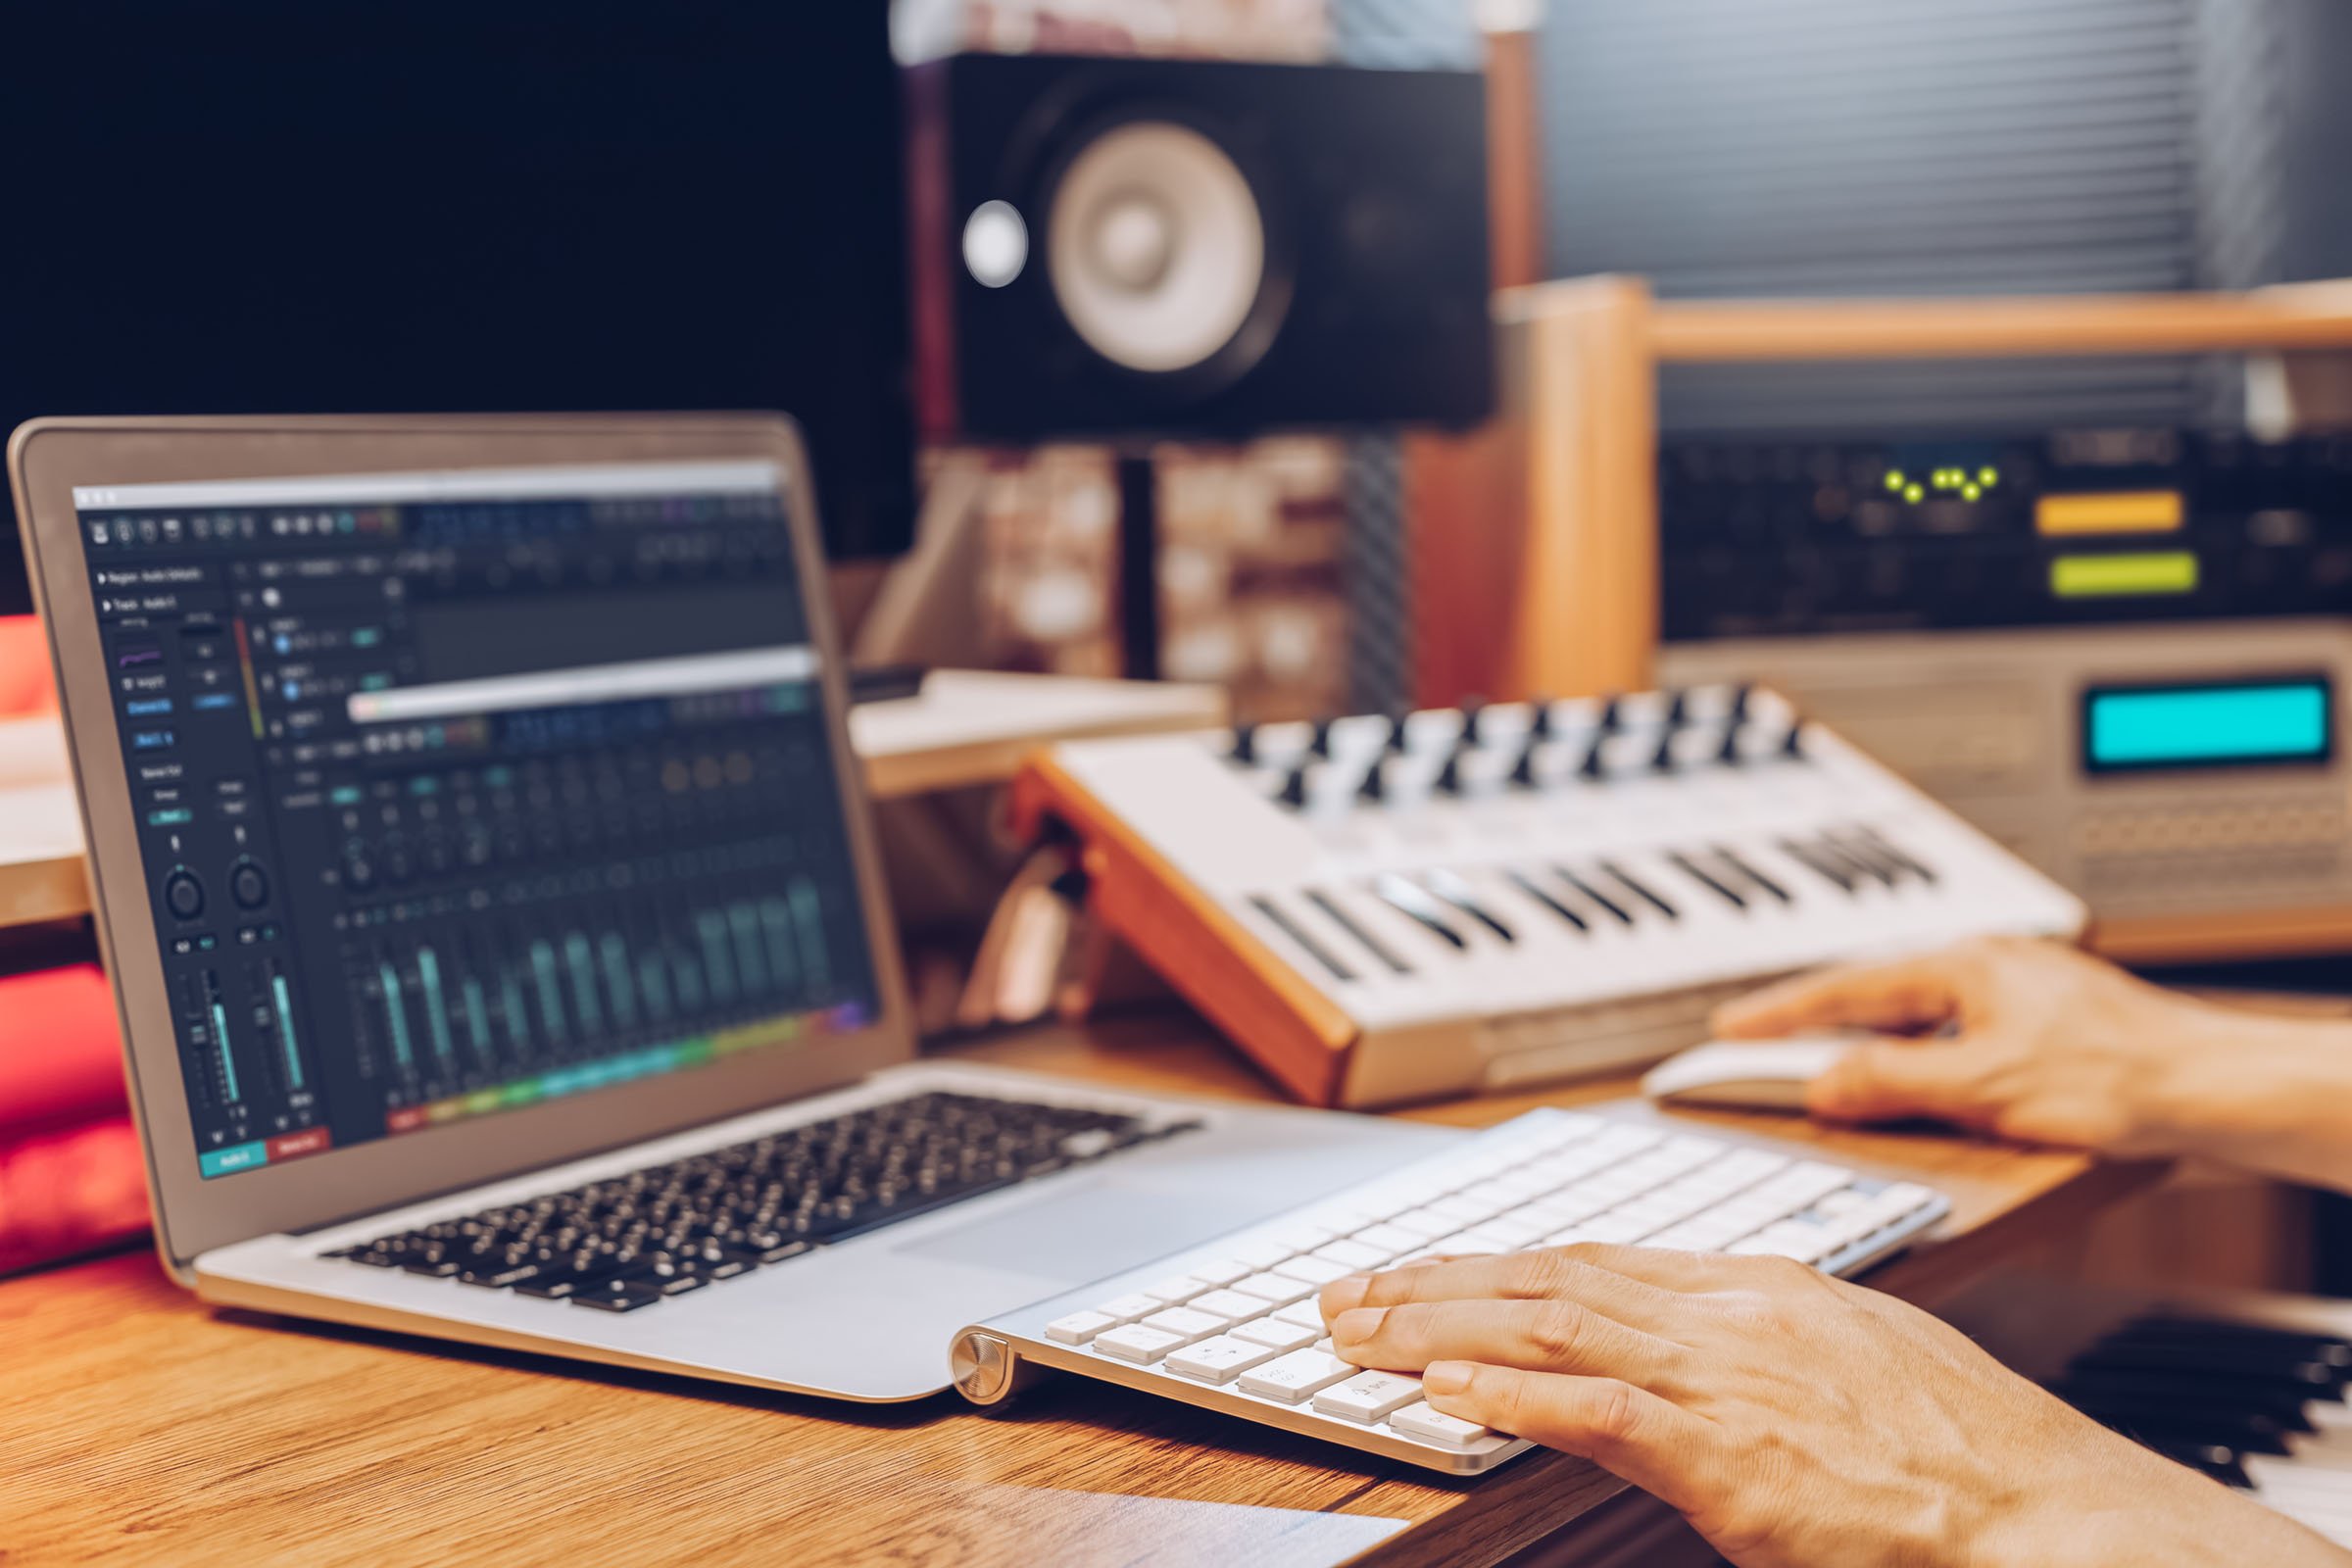
Before the first sharp recording, run through the basic points. They will help you detect problems before you start playing or singing.
- Do you have a quiet place and can you limit disturbing sounds?
- Is the microphone suitable for the voice or instrument you want to record?
- Do you know if you need a USB microphone or a separate sound card?
- Is the signal path microphone/instrument → sound card → computer → monitoring connected correctly?
- Can you hear the recording through monitors or headphones without crackling and dropouts?
- Do you have the cables stored so that they don't get in the way and don't pull on the connectors?
Create a home studio that grows with you
Creating a home studio doesn't have to be difficult if you don't start with a shopping list, but with a workflow. First, figure out what you will be recording, where you will be working and how the signal will go from the microphone or instrument to the monitor.
Start with a reliable base you can use right away: a microphone, audio interface or USB solution, studio monitors or headphones for monitoring, a computer, software and tidy accessories. As you record more, you will naturally find out what you are missing — better monitoring, acoustic treatment, another input, a more comfortable stand or a more powerful computer. That way you will build a studio that not only looks good, but helps you create music at home without unnecessary obstacles.