Albania
 Argentina
 Australia
 Austria
 Belgium
 Bosnia and Herzegovina
 Brazil
 Bulgaria
 Canada
 Chile
 Colombia
 Croatia
 Czech Republic
 Denmark
 Estonia
 Finland
 France
 Germany
 Greece
 Hungary
 Ireland
 Italy
 Latvia
 Lithuania
 Luxembourg
 Mexico
 Moldova
 Montenegro
 Netherlands
 New Zealand
 North Macedonia
 Norway
 Philippines
 Poland
 Portugal
 Romania
 Serbia
 Slovakia
 Slovenia
 South Africa
 Spain
 Sweden
 Switzerland
 Turkey
 Ukraine
 United Kingdom
 United States of America


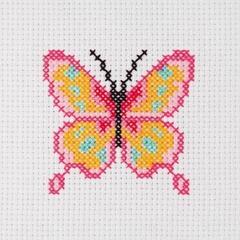
Embroidery Sets
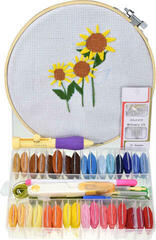
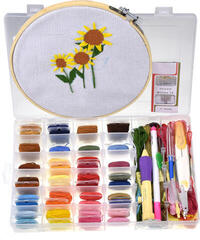
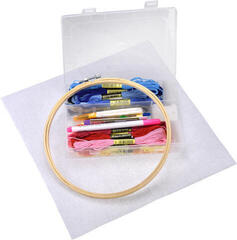
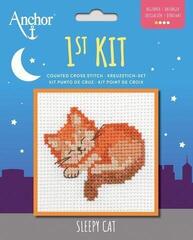
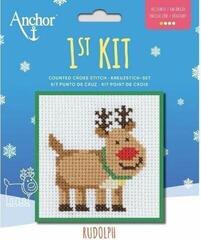
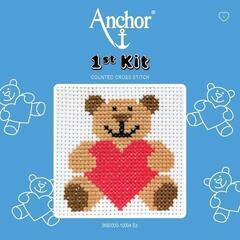
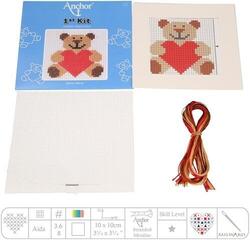
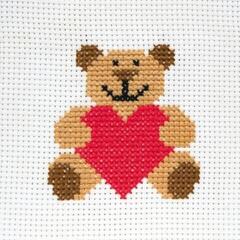
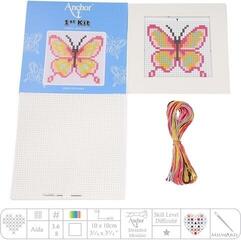
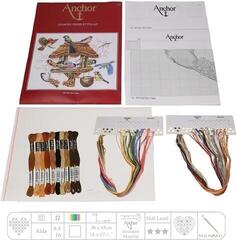
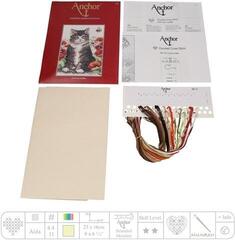
An embroidery kit is worthwhile when it matches your experience, available time, and preferred way of reading a pattern. A package may contain the fabric, needle, colored threads, chart, or printed design, but you should check the exact contents of the specific product. Difficulty is not determined by the image size alone. The number of colors, density of detail, stitch type, and clarity of the key are equally important.
A printed design guides you directly, while a chart requires counting
A printed design shows the stitch position directly on the canvas and makes initial orientation easier. In counted embroidery, the position is transferred from the chart according to the grid, so accuracy and marking the center are required. Free embroidery may use an outline and multiple stitch types. Choose a version with readable instructions that explain the technique used.
What to check in the package
- The size and type of fabric, including the weave count.
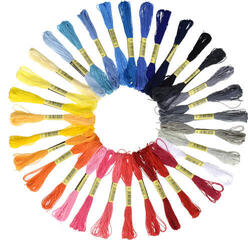
- The list of threads and how they are identified in the key.
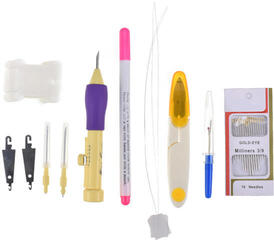
- The included needle and any tools that need to be purchased separately.
- The language, symbols, and level of detail in the instructions.
- The finishing method if the kit makes a cushion, framed picture, or another item.
Estimate difficulty by the details
Large single-color areas are usually easier than the same size with frequent color changes and fractional stitches. A fine grid increases the number of stitches in a small area. A dark fabric can make counting holes more difficult. For your first project, a smaller design with clearly contrasting symbols and a few basic stitches is practical.
Working order and a neat reverse side
Straighten the fabric without deforming it and begin at the center or at the point specified by the instructions. Separate the thread according to the number of strands required by the chart. Long carries on the reverse may show through and snag, so finish the thread and begin again closer to the next area. Store work in progress with the needle in a separate case, not inserted into the fabric.
Finishing according to the materials used
Cleaning and ironing depend on both the fabric and threads; if the kit does not specify washing, do not assume it is allowed. Dry the finished embroidery flat and iron it from the reverse through a protective layer at a suitable temperature. You can find more pattern-based crafts in the Crafting from Patterns category; Painting by Numbers offers a different kind of painting project.