Albania
 Argentina
 Australia
 Austria
 Belgium
 Bosnia and Herzegovina
 Brazil
 Bulgaria
 Canada
 Chile
 Colombia
 Croatia
 Czech Republic
 Denmark
 Estonia
 Finland
 France
 Germany
 Greece
 Hungary
 Ireland
 Italy
 Latvia
 Lithuania
 Luxembourg
 Mexico
 Moldova
 Montenegro
 Netherlands
 New Zealand
 North Macedonia
 Norway
 Philippines
 Poland
 Portugal
 Romania
 Serbia
 Slovakia
 Slovenia
 South Africa
 Spain
 Sweden
 Switzerland
 Turkey
 Ukraine
 United Kingdom
 United States of America


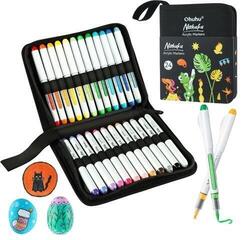
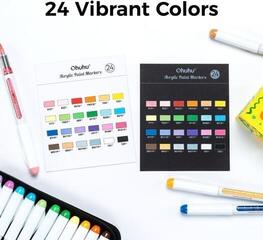
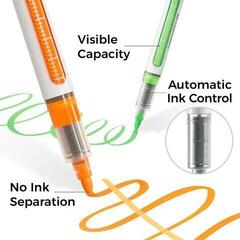
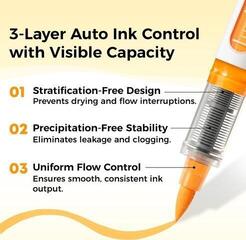
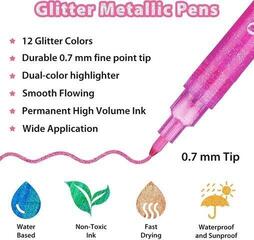
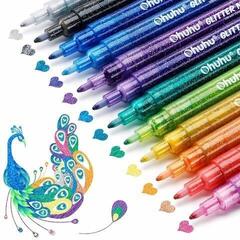
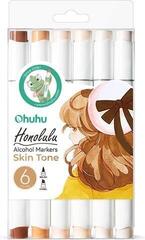
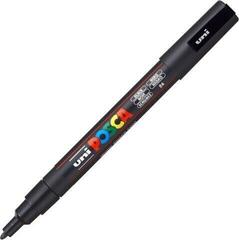
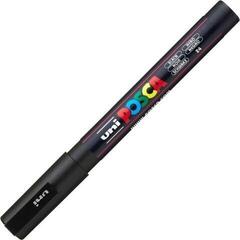
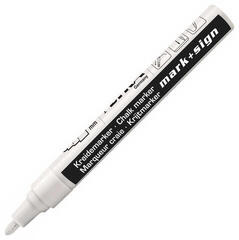
Markers / Highlighters
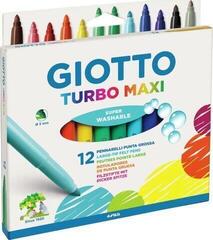
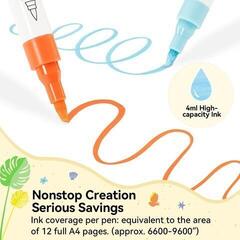
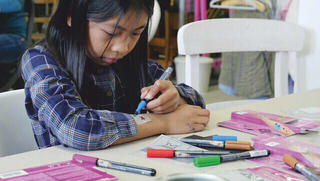
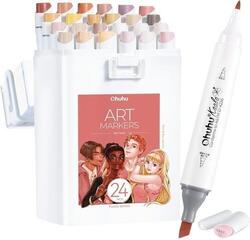
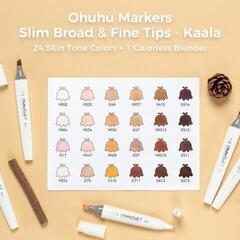
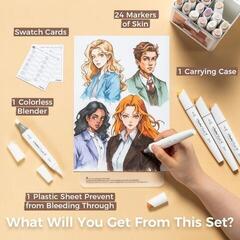
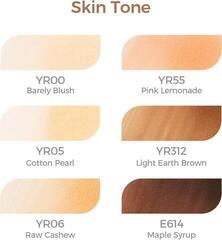
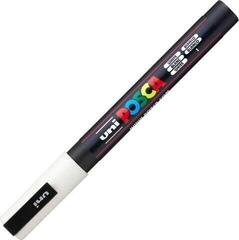
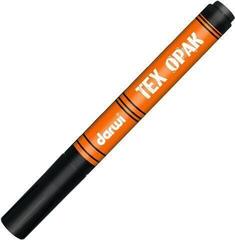
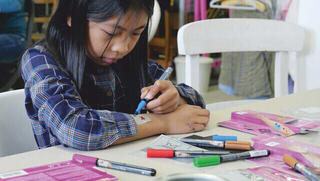
Markers, pens, and highlighters differ in their ink, tip, and intended surface. The same color can be transparent on paper, opaque on a plastic surface, or permanent on a smooth material. Therefore, begin your choice with the intended mark rather than the number of shades. Bleed-through and drying time are also important.
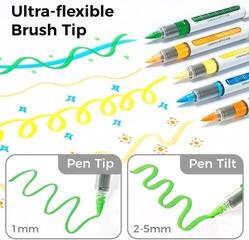
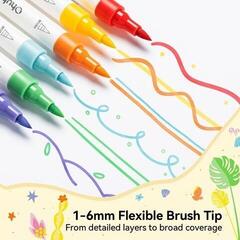
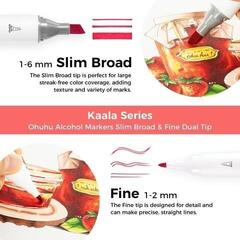
The tip determines how your hand moves
| Tip shape | Suitable task | Control |
|---|---|---|
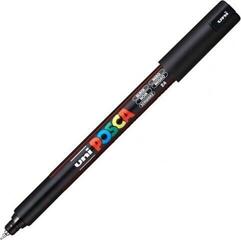
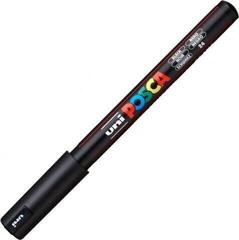
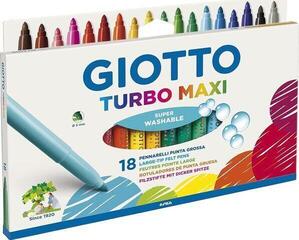
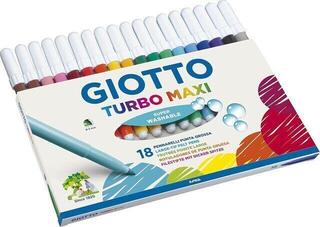
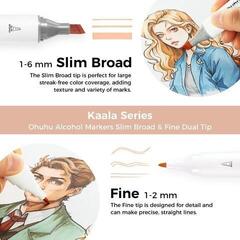
| Fine | Outlines and writing | Small contact area |
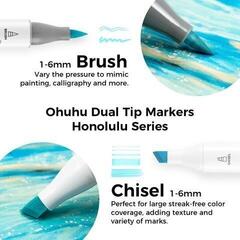
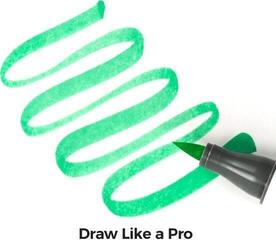
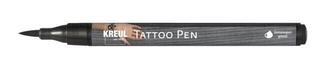
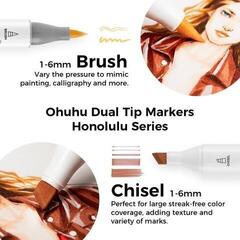
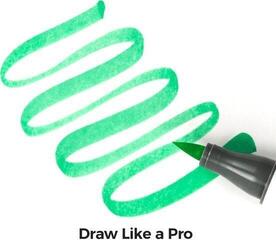
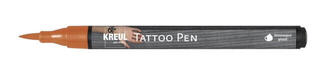
| Brush | Lettering and variable lines | Pressure and angle |
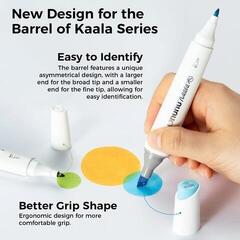
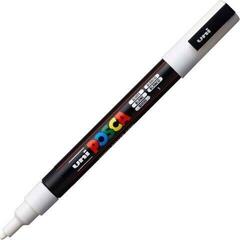
| Chisel | Edges and wider bands | Tip rotation |
| Highlighter | Transparent text marking | Avoid oversaturating the paper |
Ink according to the surface
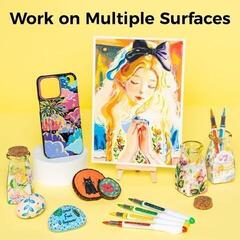
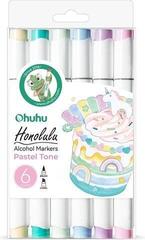
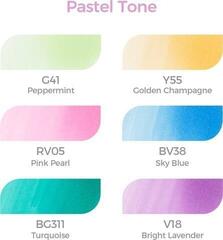
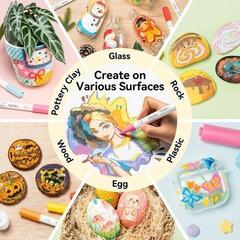
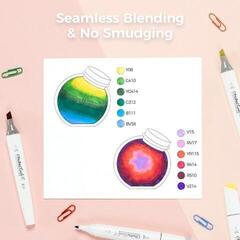
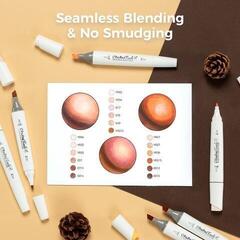
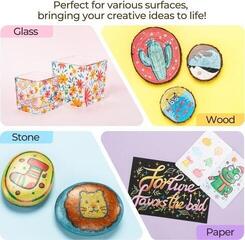
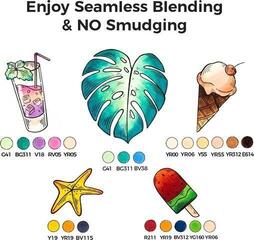
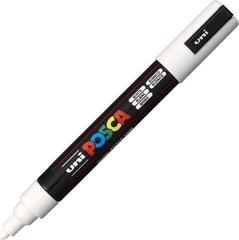
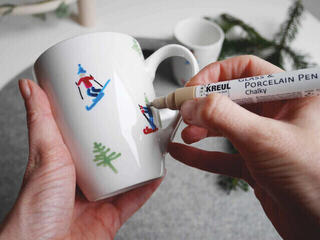
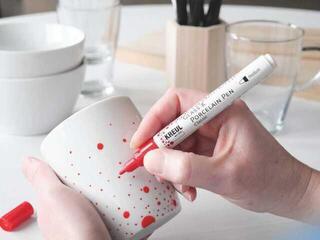
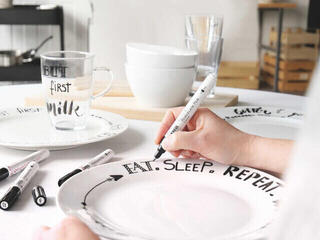
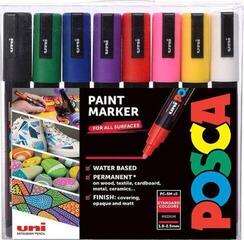
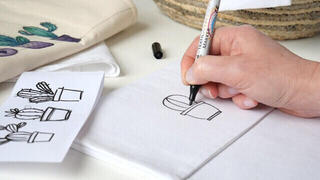
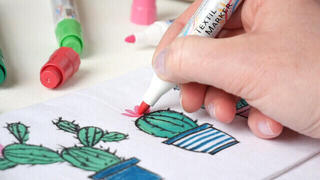
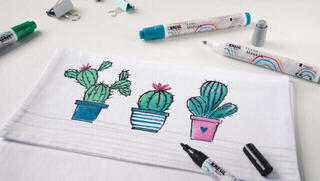
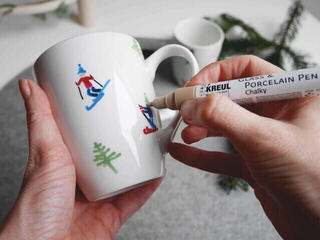
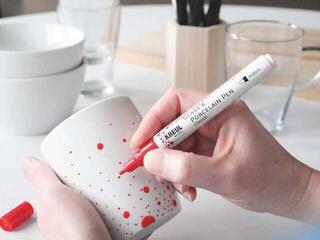
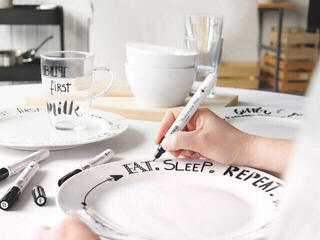
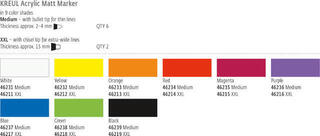
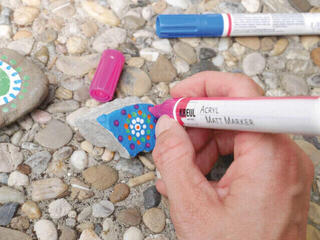
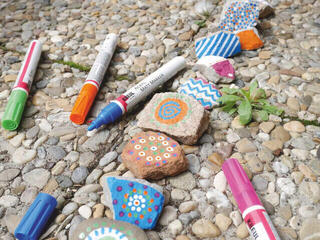
Check for bleed-through on the reverse of thin paper. Alcohol-based ink enables smoother gradients on suitable paper, water-based ink behaves differently when layered, and an acrylic marker creates a more opaque film. Use a specialized surface only with a marker that explicitly lists it.
Drawing or a specific task
For general illustration, see Markers and Pens. A construction sketch can begin with Pencils. The Drawing category brings together the entire group of tools.
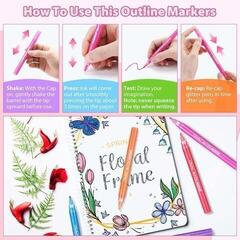
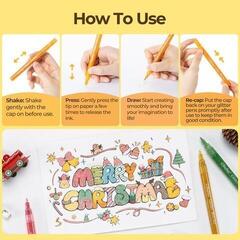
Do not let the tip dry out
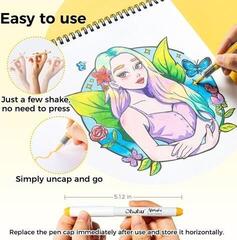
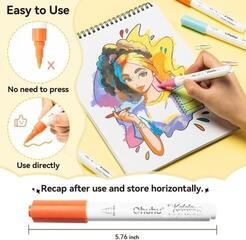
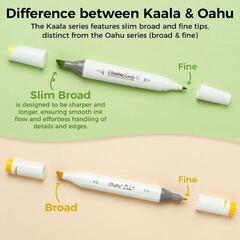
Replace the cap immediately after use and do not press the tip forcefully into the paper. Store dual-ended markers according to the manufacturer's instructions. Before an important drawing, test the color, drying time, and reaction with other media on a test sheet.