 Albania
 Argentina
 Australia
 Austria
 Belgium
 Bosnia and Herzegovina
 Brazil
 Bulgaria
 Canada
 Chile
Chile
 Colombia
 Croatia
 Czech Republic
 Denmark
 Estonia
 Finland
 France
 Germany
 Greece
 Hungary
 Ireland
 Italy
Italy
 Latvia
 Lithuania
 Luxembourg
 Mexico
 Moldova
 Montenegro
 Netherlands
 New Zealand
 North Macedonia
 Norway
 Philippines
 Poland
 Portugal
 Romania
 Serbia
 Slovakia
 Slovenia
 South Africa
 Spain
Spain
 Sweden
 Switzerland
 Turkey
 Ukraine
 United Kingdom
 United States of America



How to change bass guitar strings?
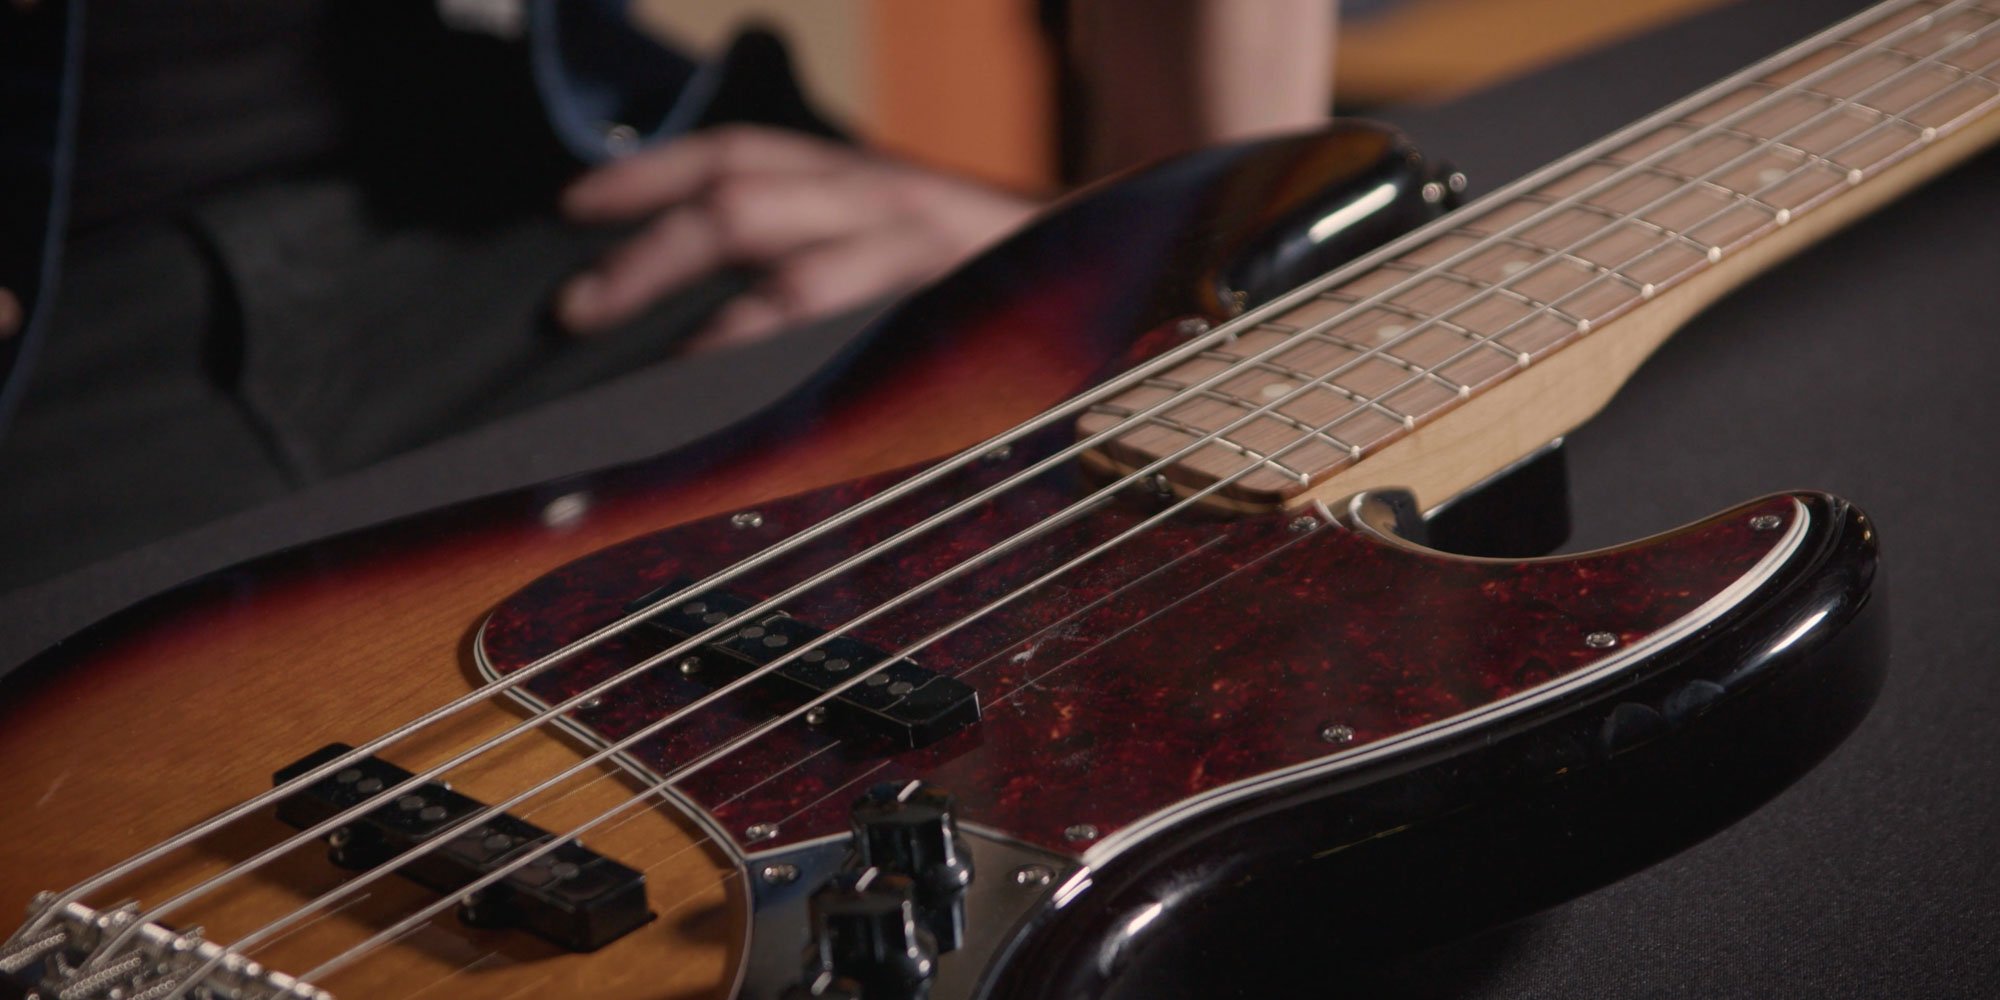
How to change bass guitar strings in brief
You can change bass guitar strings safely when you first loosen them, remove them without sudden tension, clean the instrument and wind the new bass guitar strings with the right amount of spare length. Check the winding direction on every string, aim for about three wraps on the machine head and gently stretch each new string until it starts to hold tuning.
- Prepare the work surface, new strings, cutters, string winder, cloth, cleaning products and a tuner.
- Loosen the old strings first; only then unwind them or cut them carefully.
- After removing the strings, check the bridge, clean the body and treat the fingerboard.
- Sort the new strings by gauge or by the manufacturer’s colour coding.
- Thread each string through the bridge, measure the spare length and bend it before cutting.
- Insert the string into the tuning post, wind it in the correct direction and leave about three wraps.
- Tune the strings roughly first, stretch them gently and fine-tune only when they settle.
When to change bass strings
Strings have a major influence on the sound of a bass guitar. Even good strings lose brightness over time, hold tuning worse and can sound dull or lifeless. The most common cause is sweat, dust and dirt caught in the winding, or corrosion and material fatigue.
Wear also depends on playing style. Slap or pick playing stresses the strings more than a softer fingerstyle approach. If you play regularly two or three times a week, changing strings roughly every three months is a practical guide. Professional players often fit a new set before an important gig or studio session.
New strings usually bring a livelier tone, clearer mids and brighter highs. Do not postpone the change if the bass goes out of tune, sounds flat or if dirt and corrosion are visible on the strings.
What to prepare before changing strings
Before the change itself, prepare a clean and safe place to work. Put the bass on a flat table, wash your hands and support the neck so it does not rest directly on the machine heads.
Tool checklist
- a new set of bass guitar strings,
- a string winder,
- cutters or string clippers,
- a tuner,
- a clean microfibre cloth,
- body cleaner and a suitable oil for an unfinished fingerboard,
- a neck rest or soft support.
A complete instrument care kit is very useful. It can include a microfibre cloth, polish, conditioner for rosewood fingerboards, wax and a neck support.
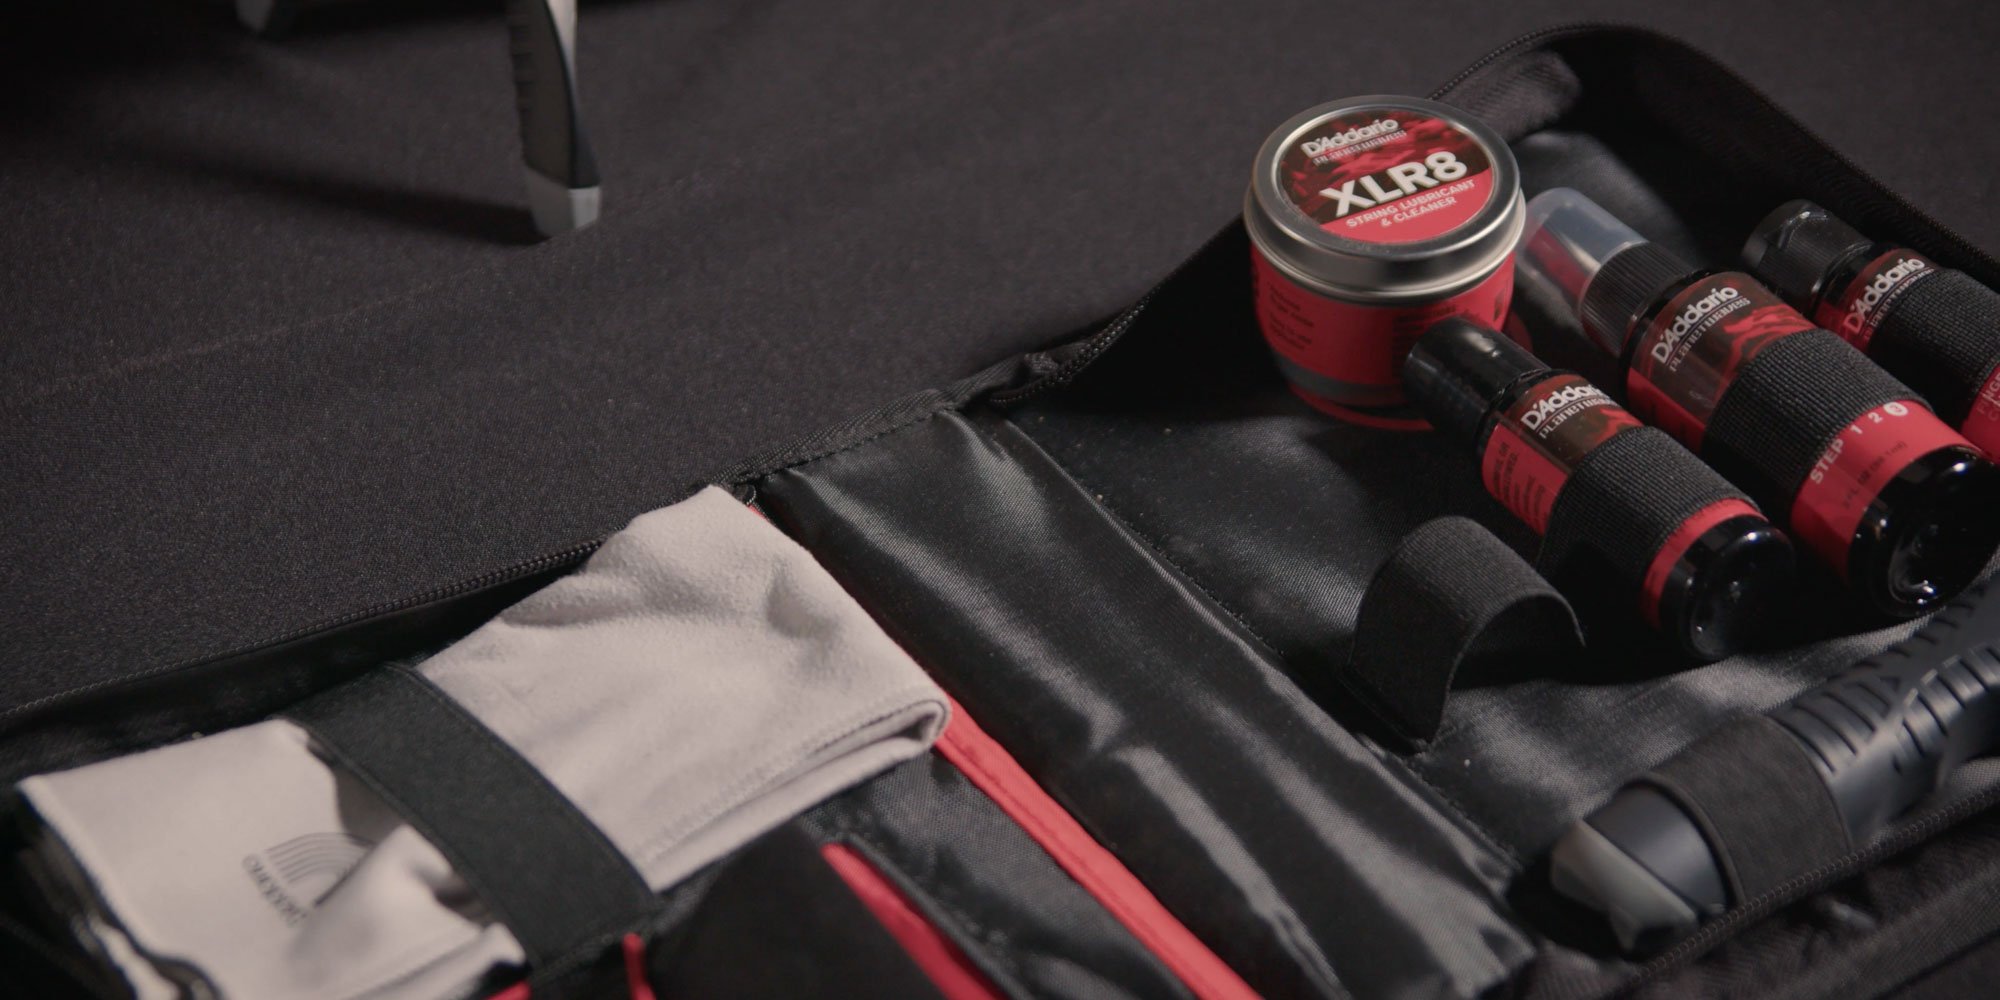
With clean hands, place the bass on a flat table and support the neck with a suitable rest so it does not lie on the machine heads.

1. Loosen the old strings first
Never cut old strings while they are under tension. A tight string can snap out and the sudden change of load can unnecessarily stress the neck. Always loosen each string at the machine head first.
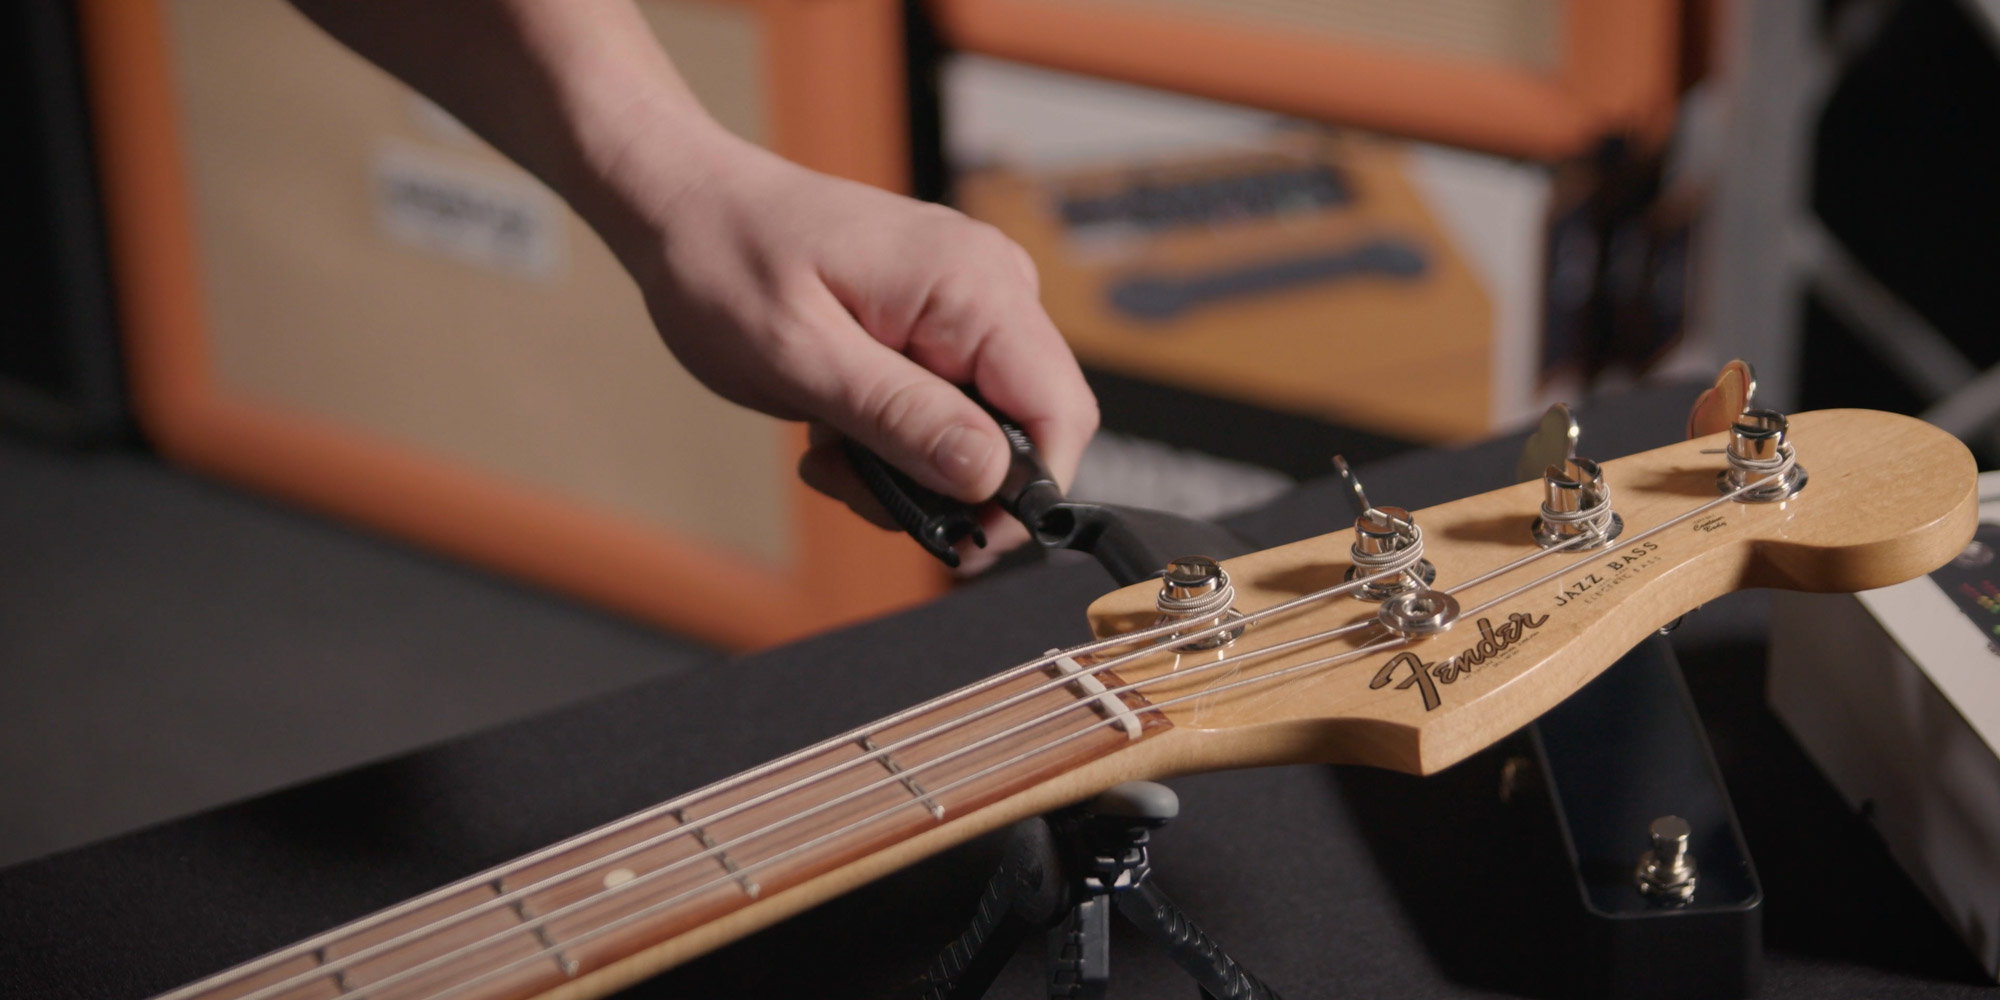
Cut a string only when it is no longer under tension. Work one string at a time, or remove the whole set if you also want to clean the fingerboard and body thoroughly.
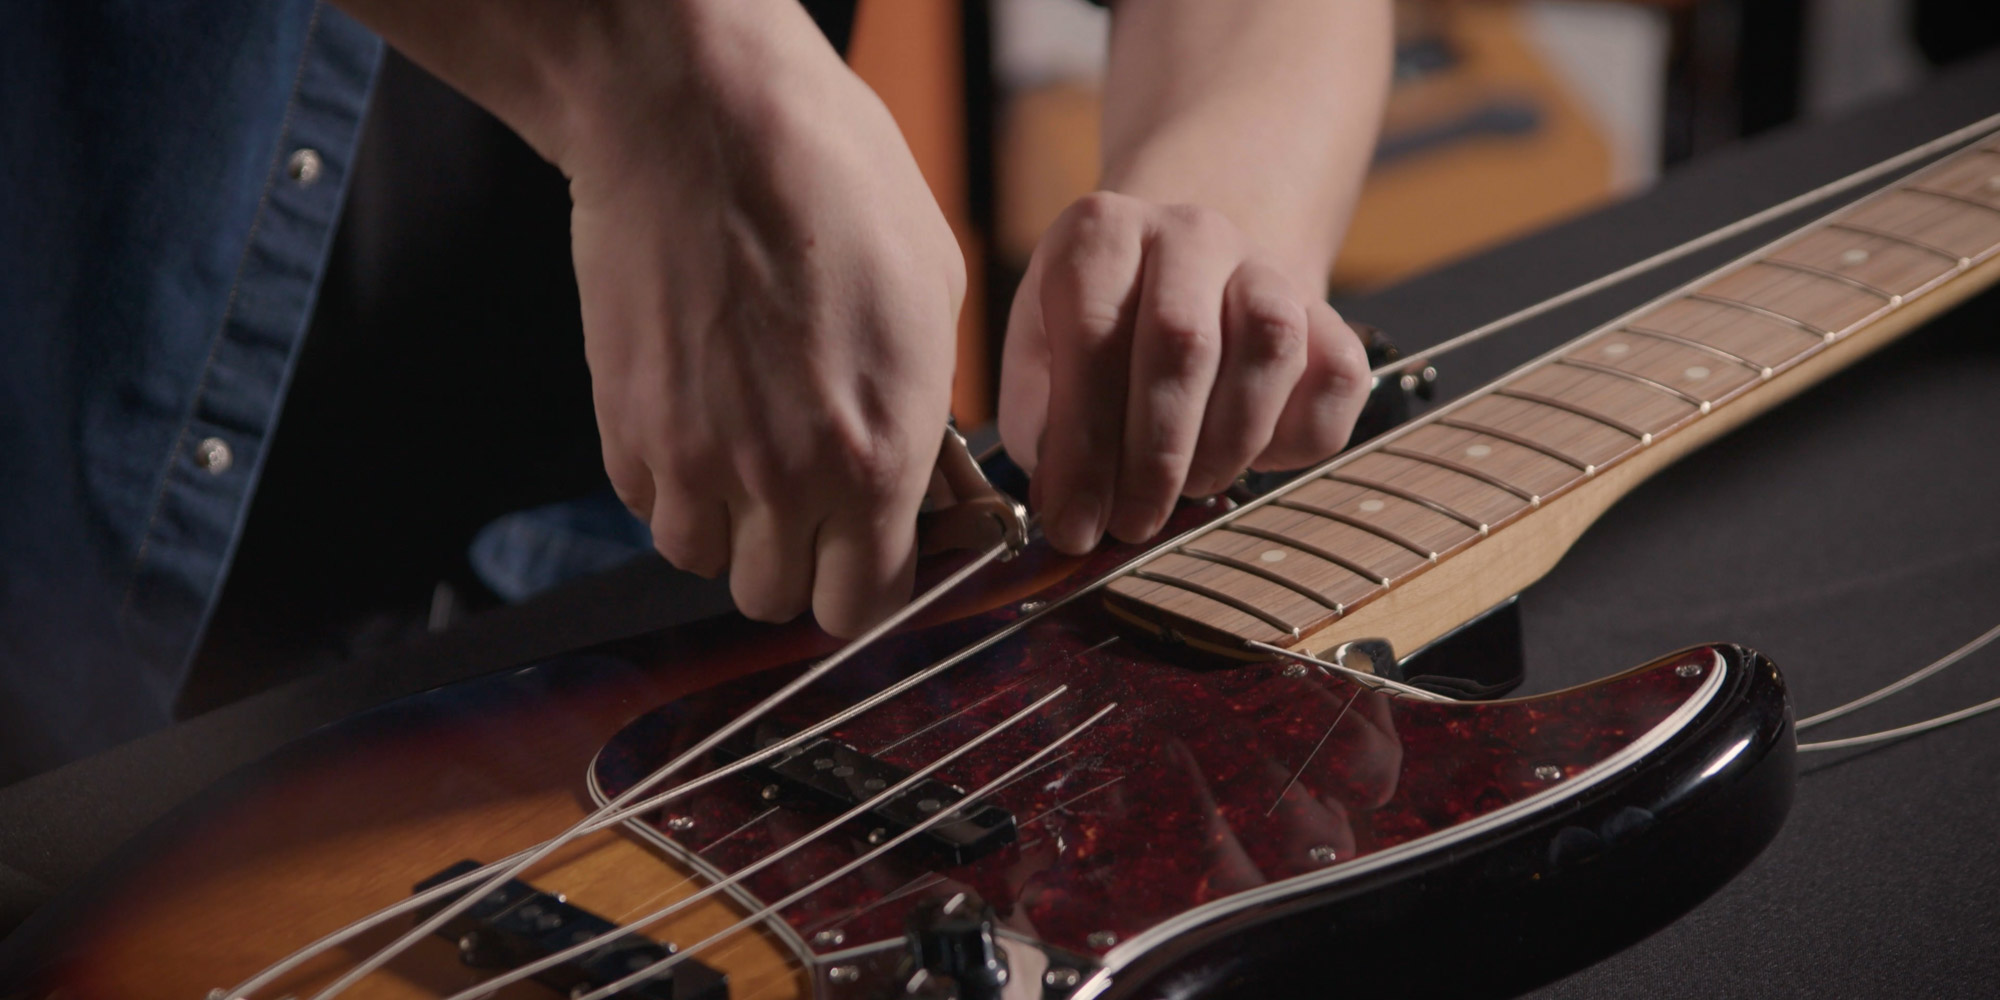
After removing the old strings, check that the bridge screws are tight. Tighten them only gently, because too much pressure can damage the finish around the bridge.
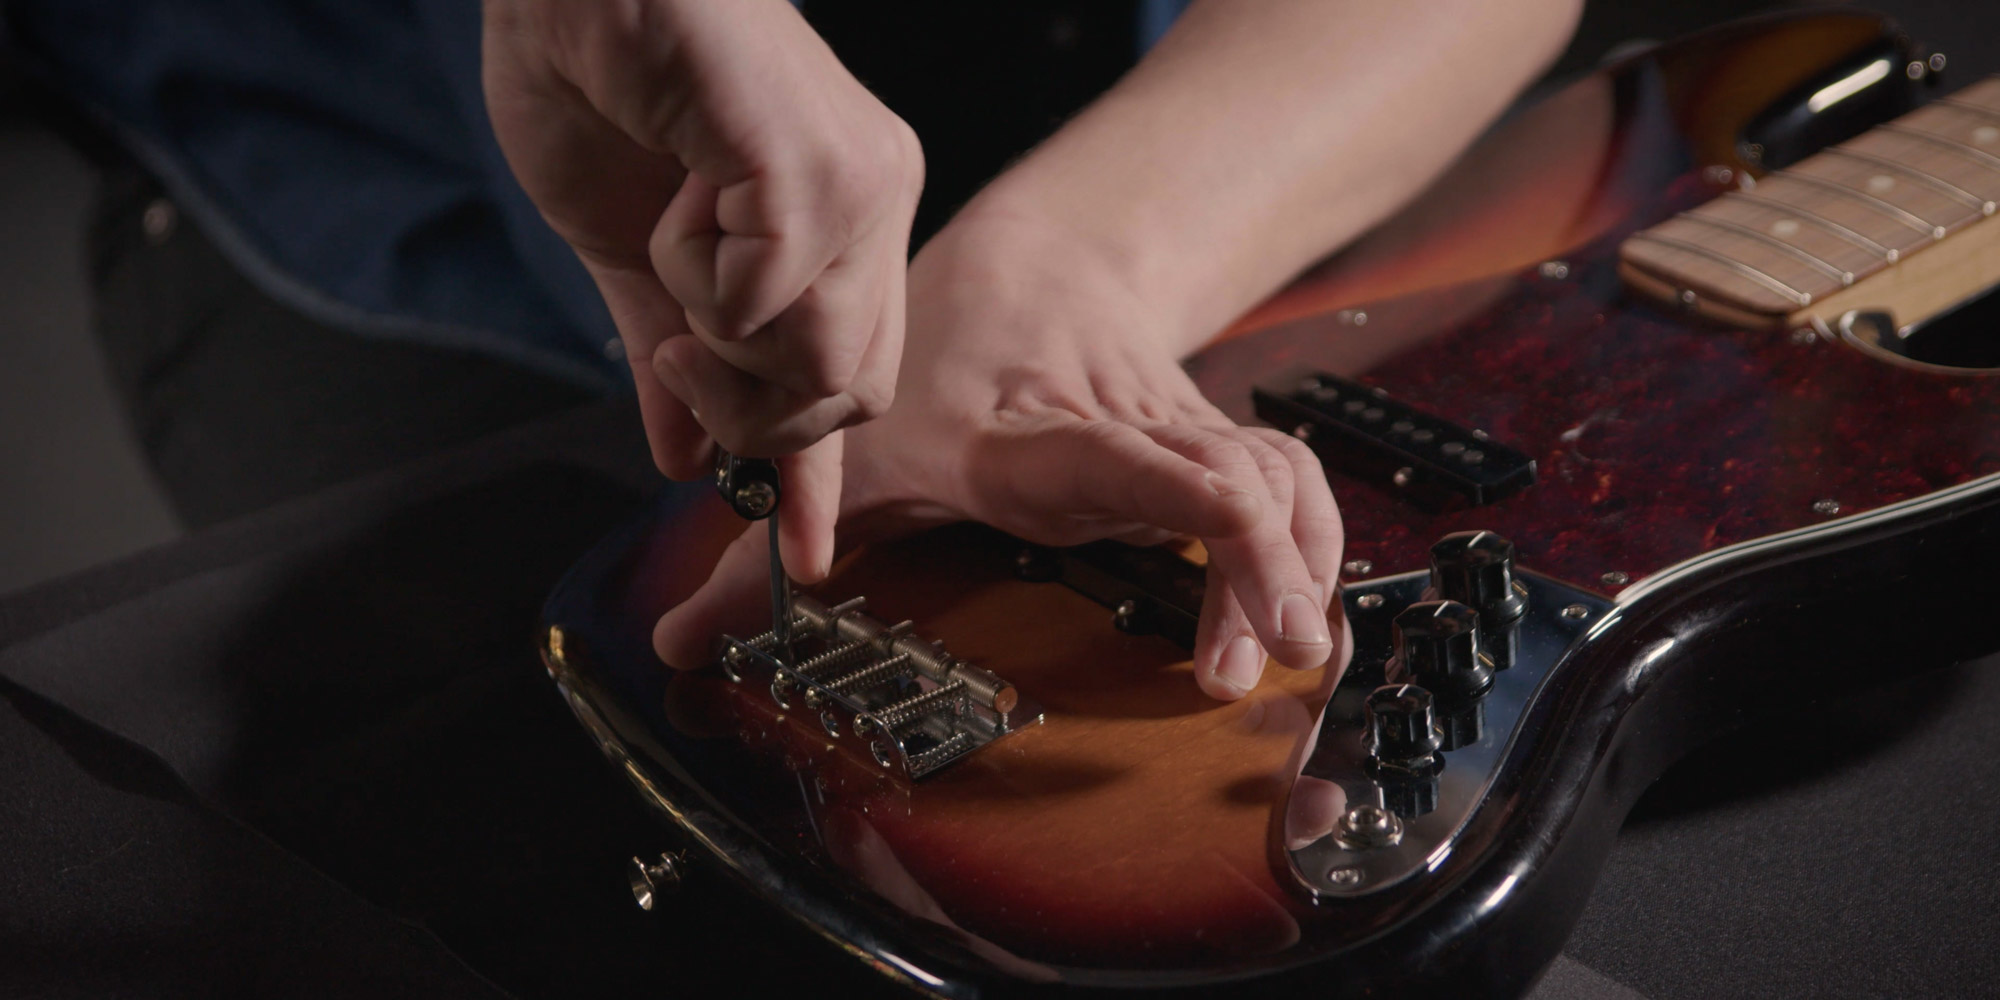
2. Clean the body of the bass
After removing the strings, you can reach places that are hard to clean during normal use. Do more than just wipe the body: use a suitable cleaner for the finish and a clean cloth.
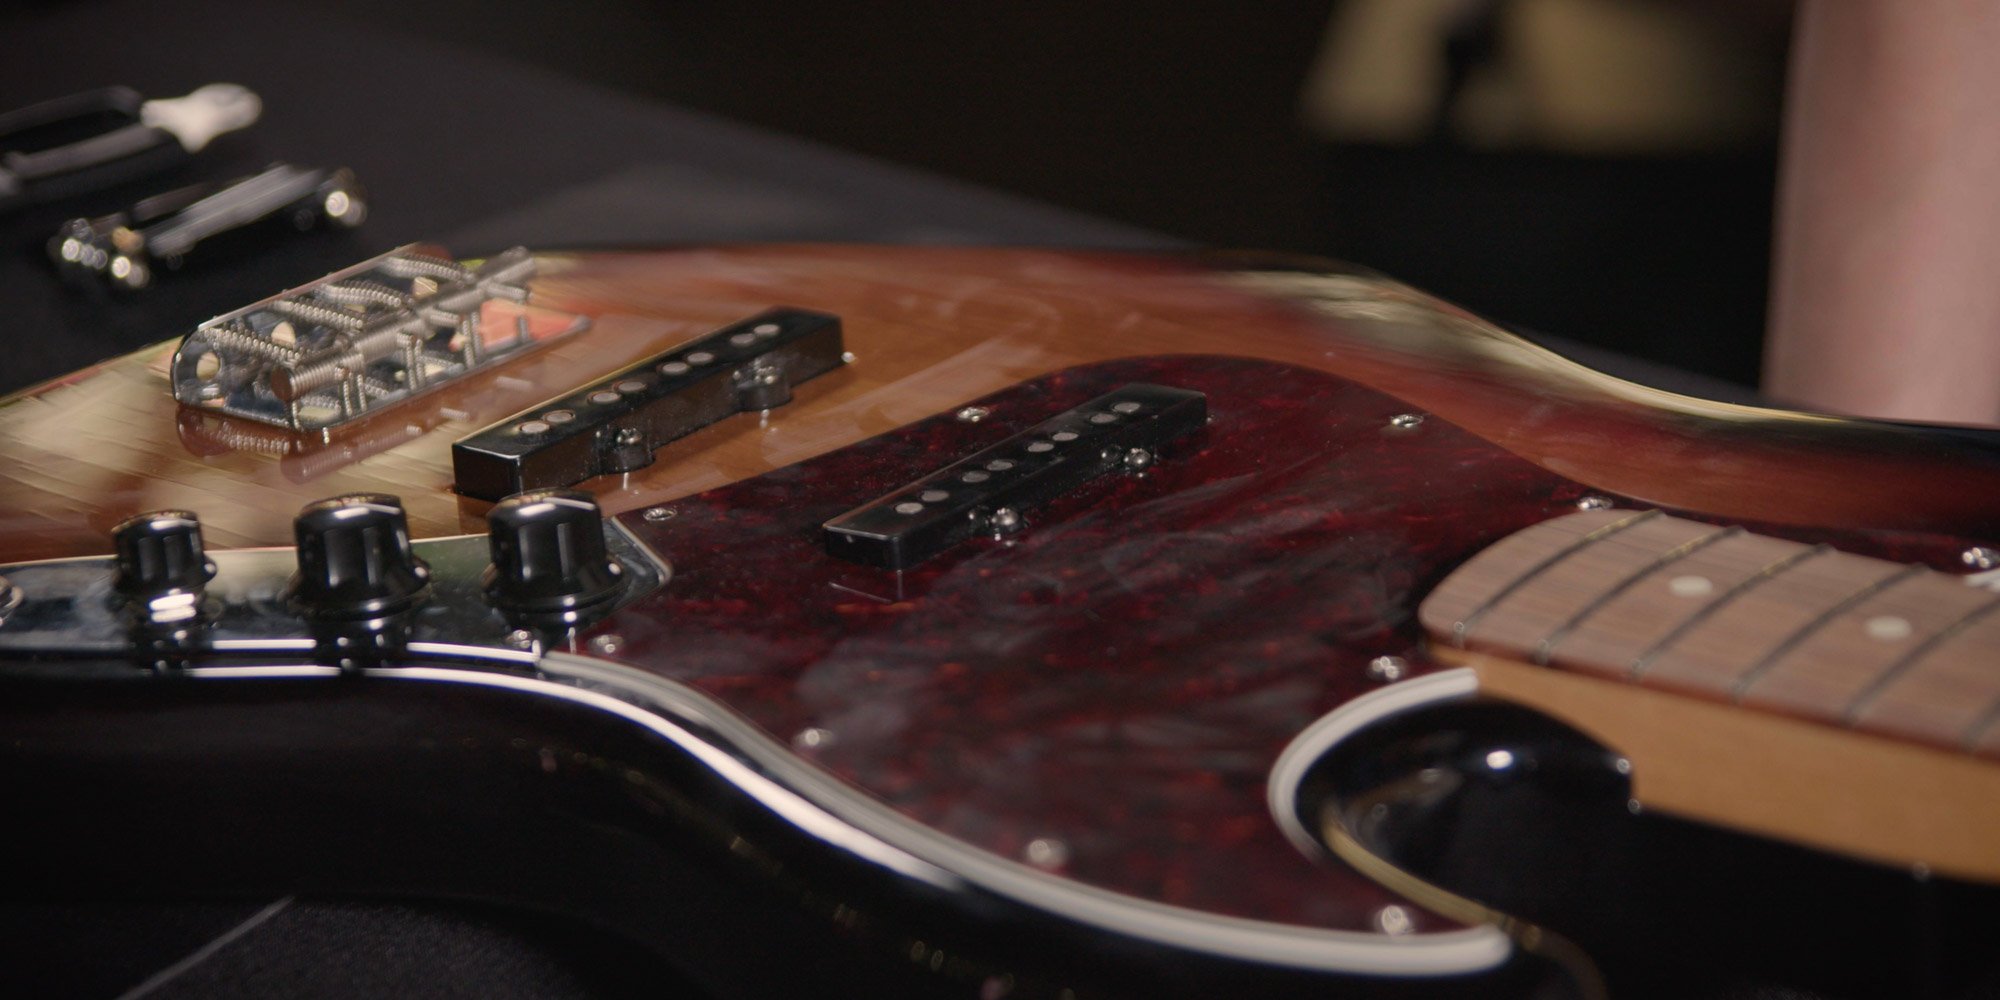
Polish and protective film
Apply a small amount of cleaning paste to a microfibre cloth and spread it over the body with circular movements. Work gently, without unnecessary pressure.

Next you can use carnauba wax. Let it work for a few minutes and then polish the body. Wax smooths tiny scratches and creates a protective layer on the surface.
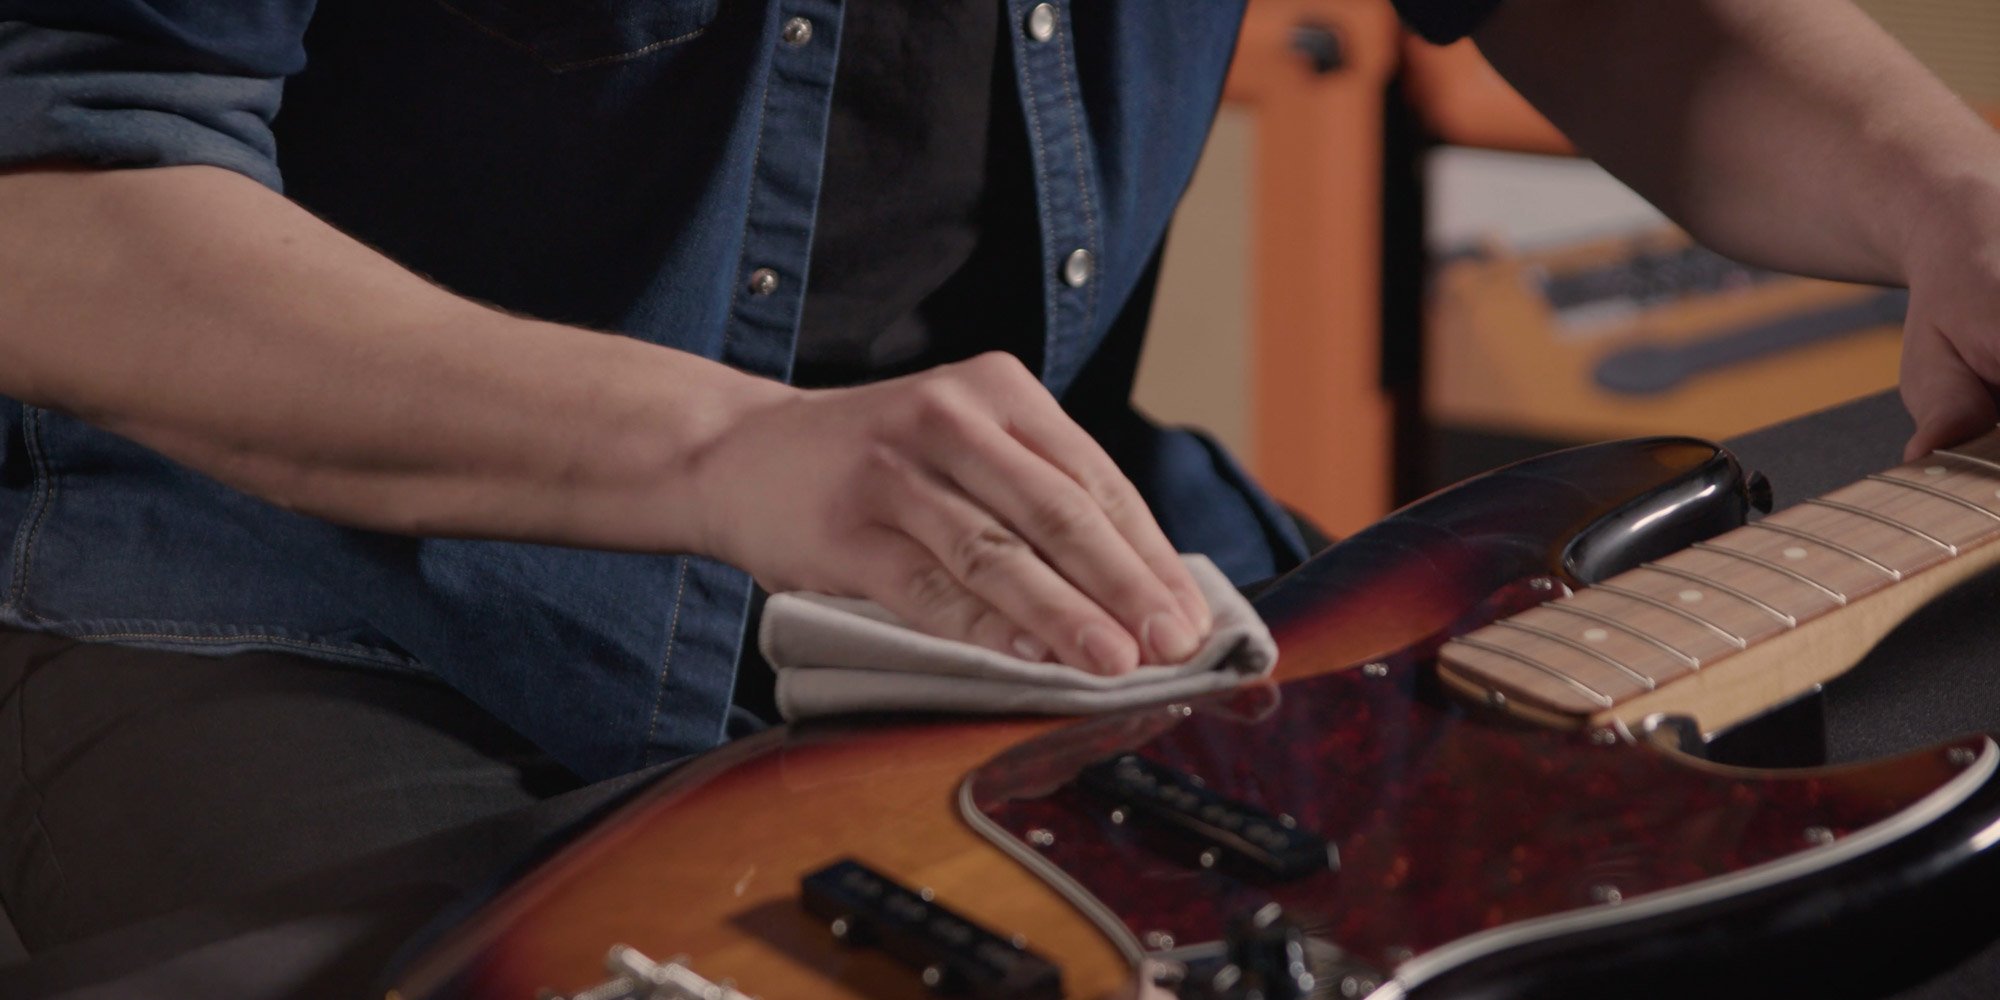
Finally, you can use a spray intended for small marks or fingerprints. A small amount followed by polishing with a cloth is enough.
Guitar strings
Refresh the sound of your instrument. The range includes guitar strings for acoustic, electric and bass guitars in various materials and gauges.

3. Treat the fingerboard
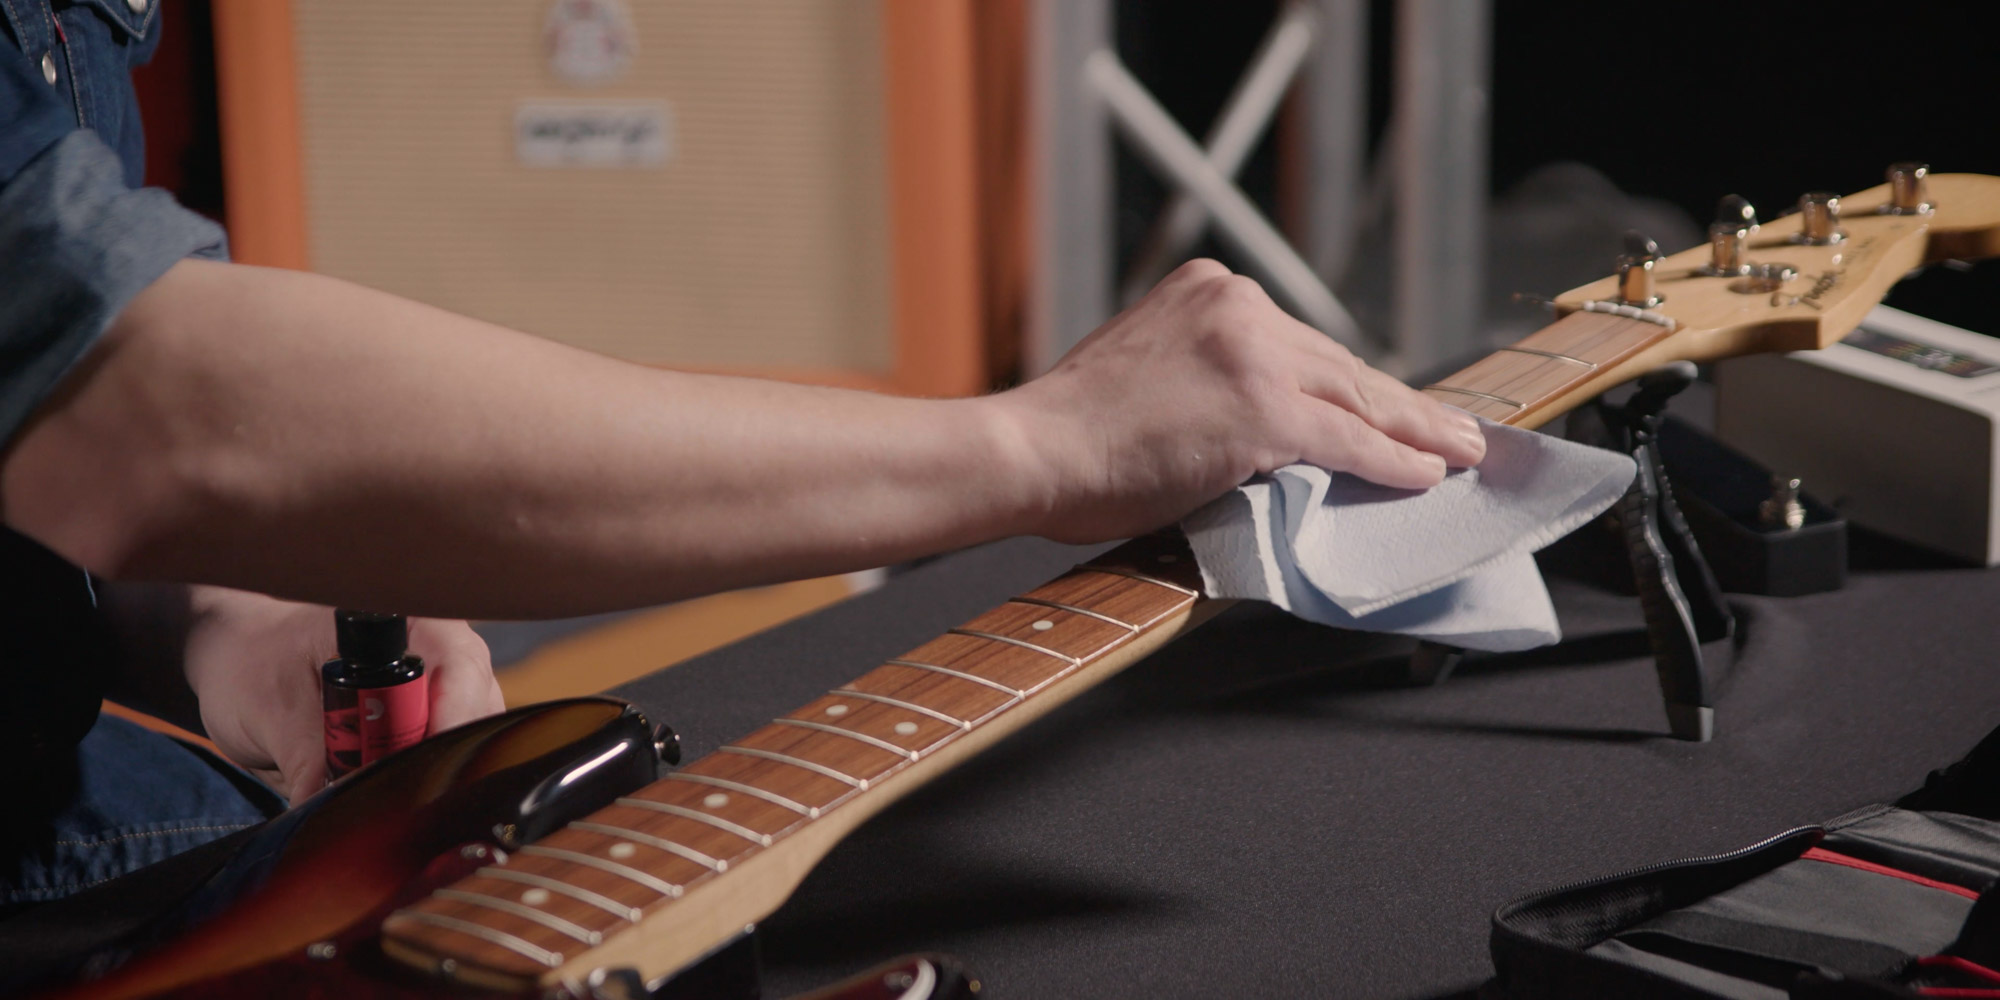
The wood of an unfinished fingerboard can dry out over time and crumble around the frets. It should therefore be cleaned and, when needed, conditioned with a suitable fingerboard oil.
Put a small amount of oil on a cloth and polish the areas between the frets. Let the oil work for a few minutes, then wipe the fingerboard again with a clean part of the cloth. The result is a treated surface with a richer wood colour.
4. Choose the right bass strings
Choosing the right strings matters for both sound and playing comfort. If you do not yet have a favourite brand or gauge, start with a universal set and gradually find what suits your playing style and instrument.
Material matters as well. A string consists of a core and winding; both can use different materials and shape the final tone.
Nickel
Nickel strings have a softer, warmer sound and fit vintage styles well. Compared with steel, they can feel less aggressive.
Nickel – steel
A steel or nickel-plated steel core with nickel winding is a versatile combination. The sound is punchier and louder, but still smooth enough.
Steel
Steel strings have a bright, powerful and more pronounced sound with stronger mids. Higher material durability is another advantage.
Flatwound strings
If you want a smoother feel under the fingers and a softer tone suitable for jazz or an old-school sound, also check flatwound bass strings. They are fitted in a similar way, but the playing feel and tone differ from regular roundwound strings.
5. Sort the new strings and start with the thickest
To avoid a mix-up, first sort the new strings from the thinnest to the thickest. Manufacturers use different markings. Colour-coded ball ends can help; for example, D'Addario bass strings use a clear colour system by note.
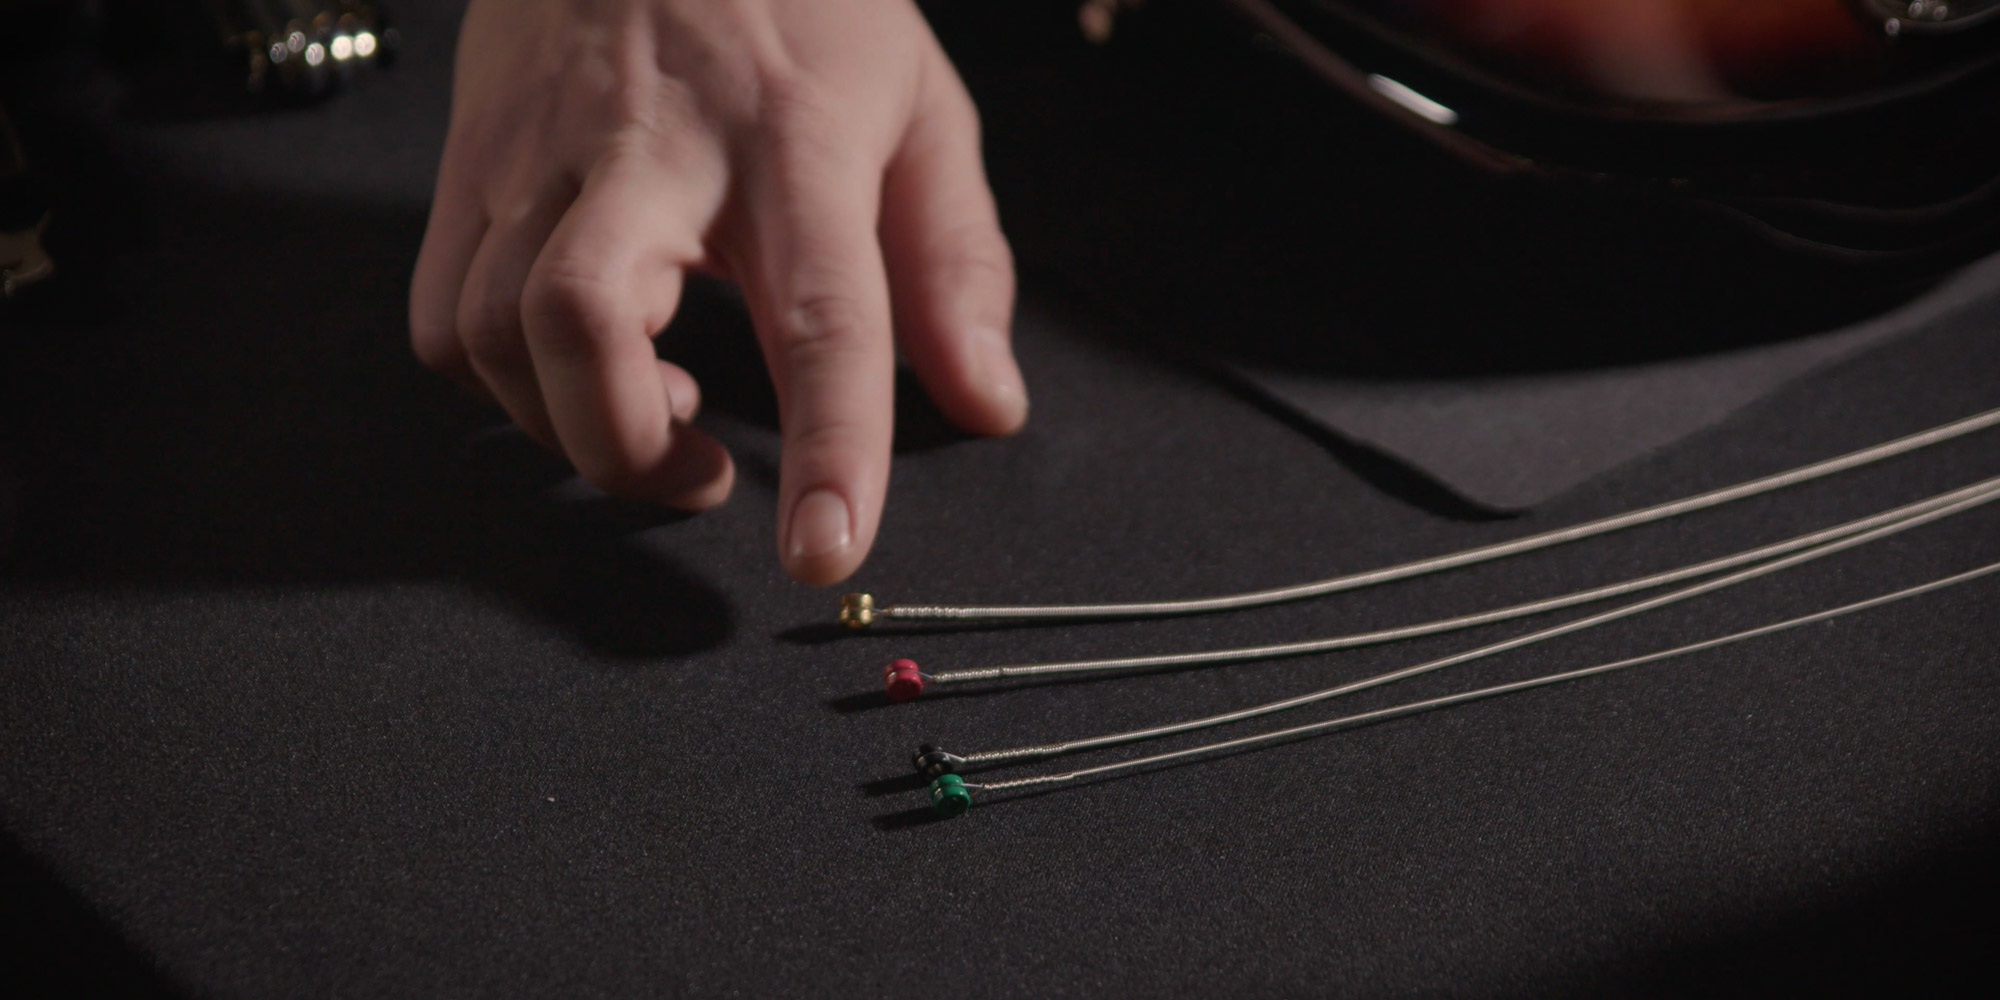
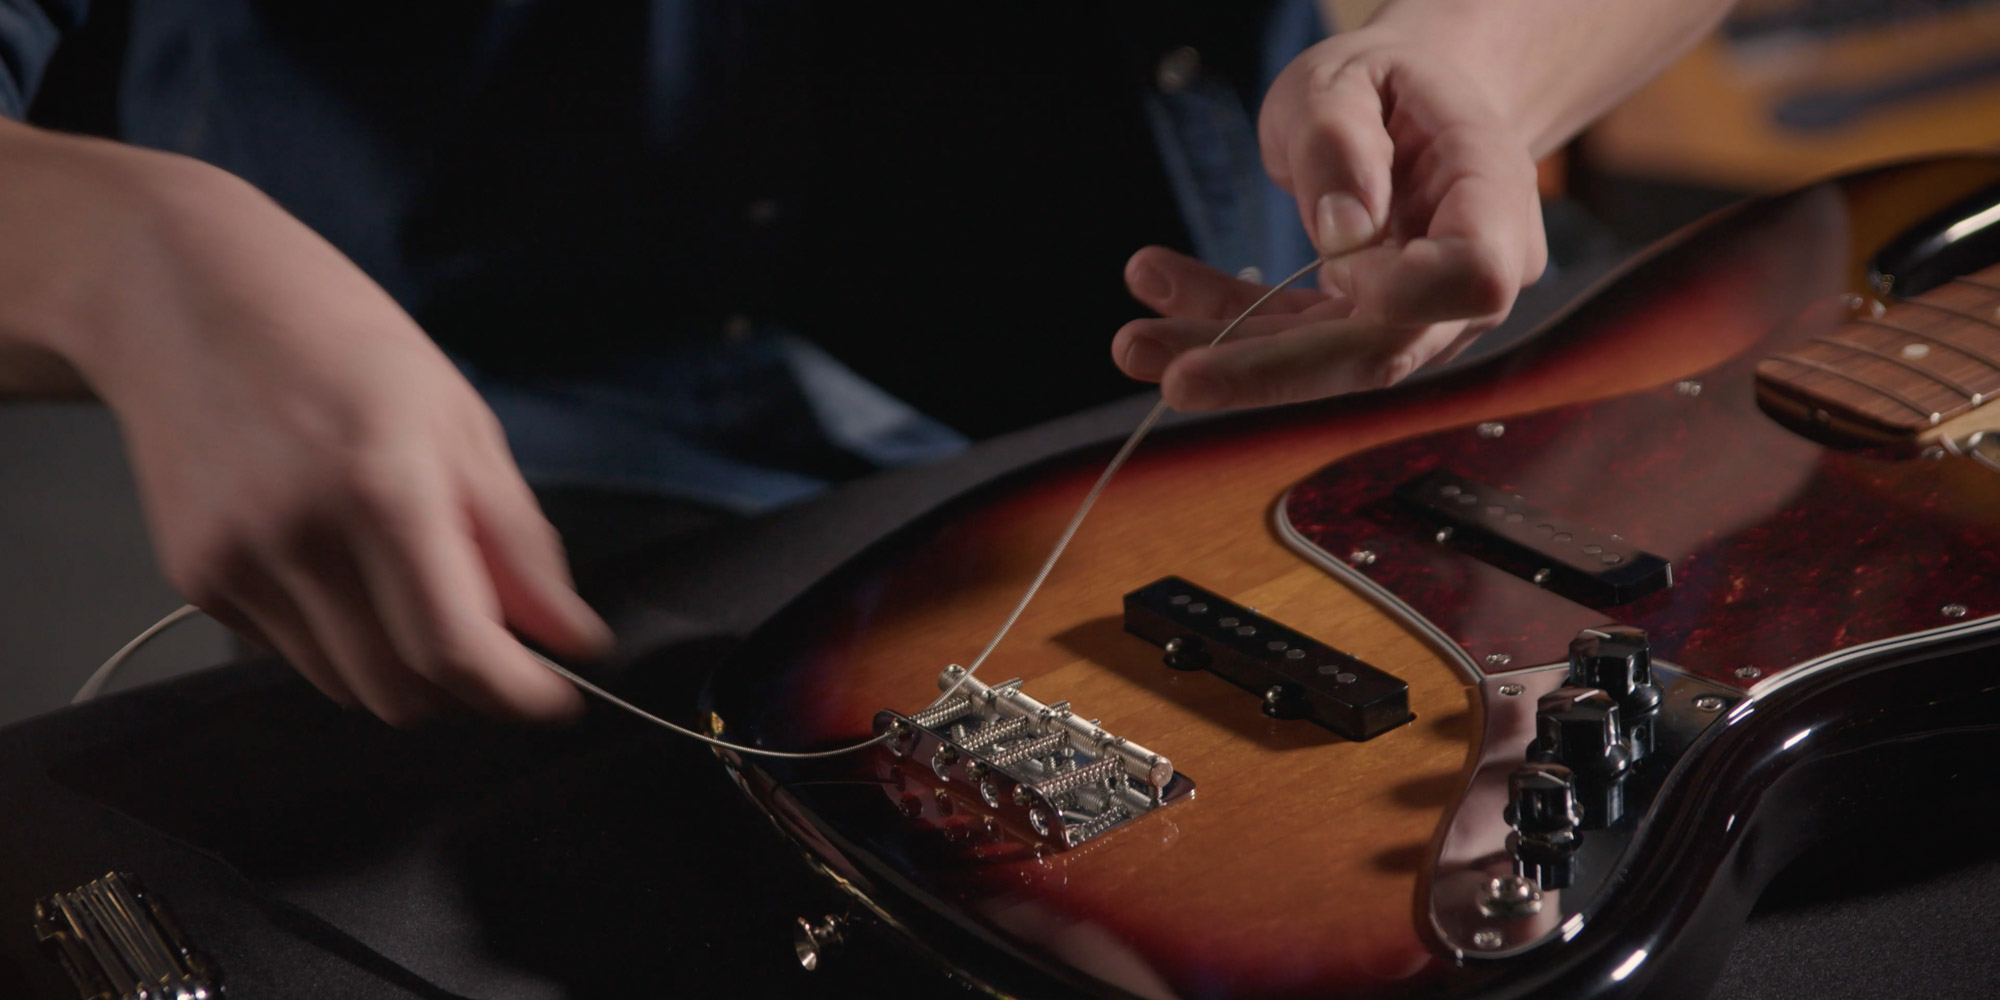
Start with the thickest string. Thread the sharp end through the bridge and pull it towards the headstock. The tuner for the E string is the one closest to the nut.
6. Measure the length, bend the string and cut it
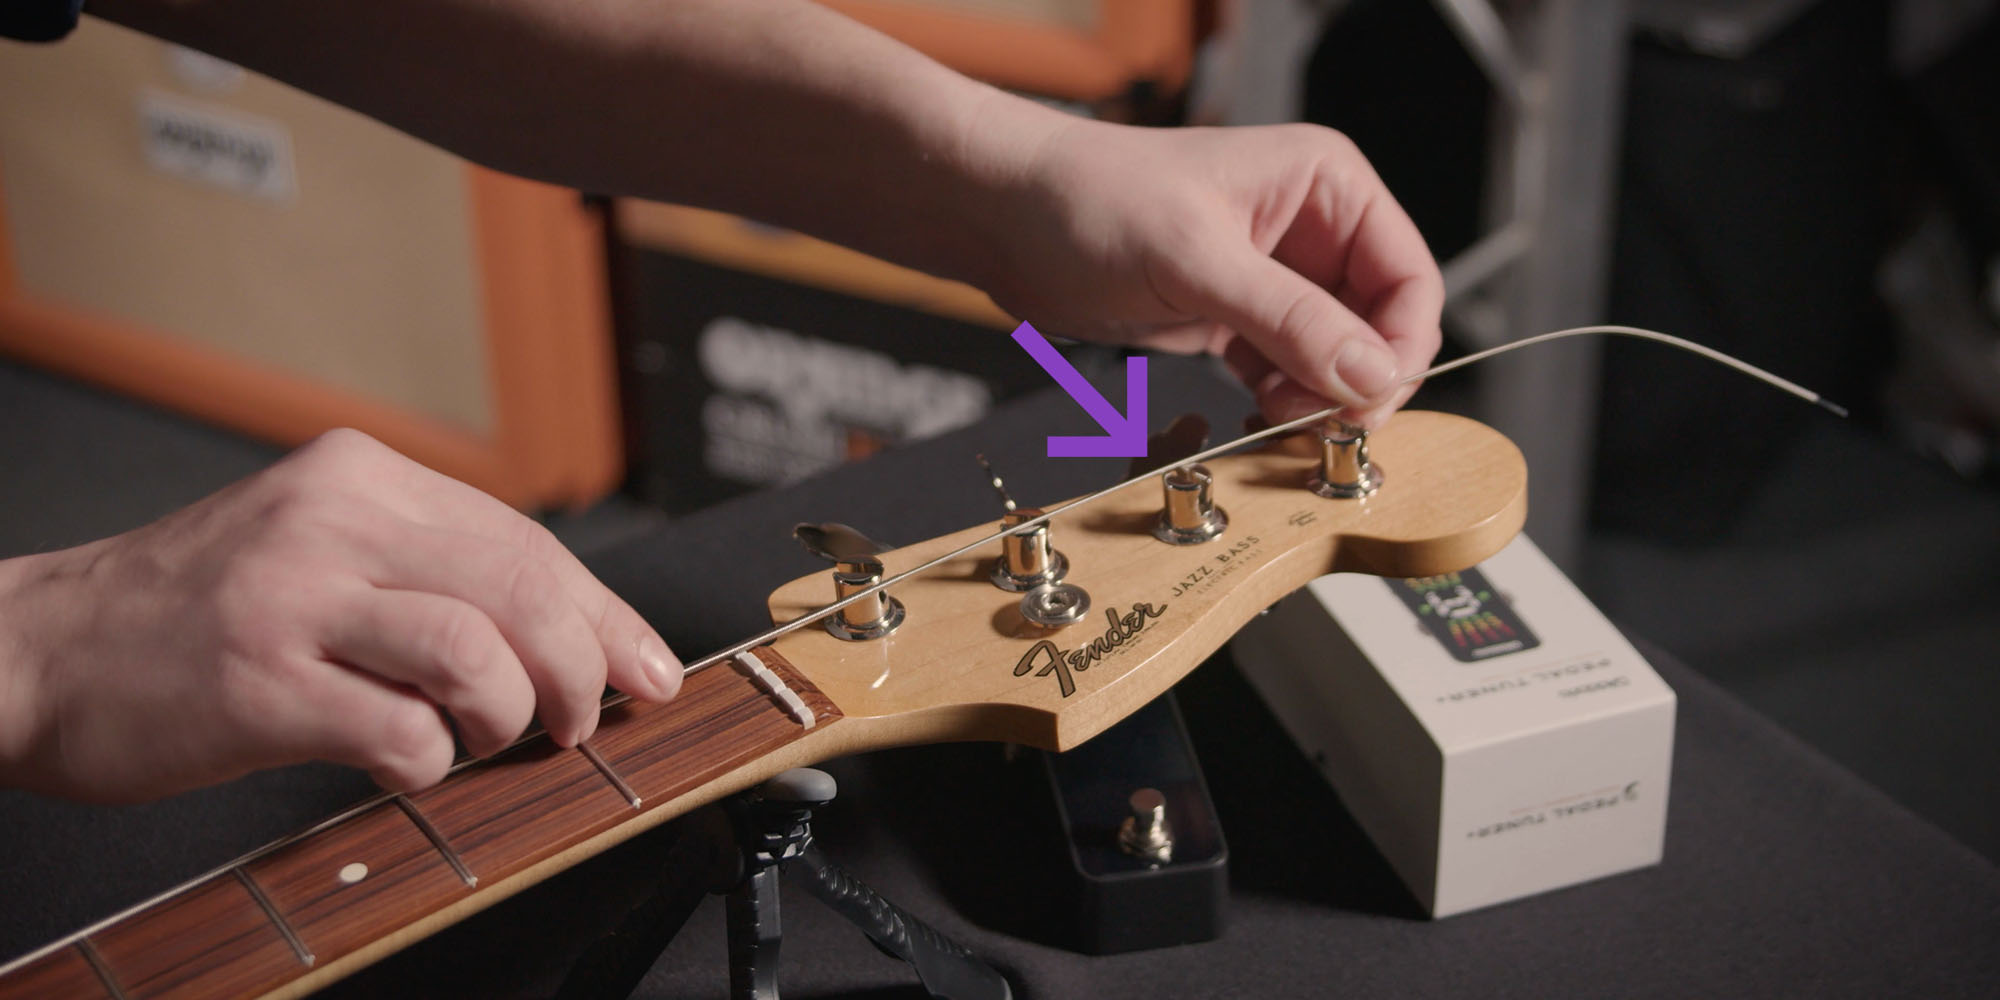
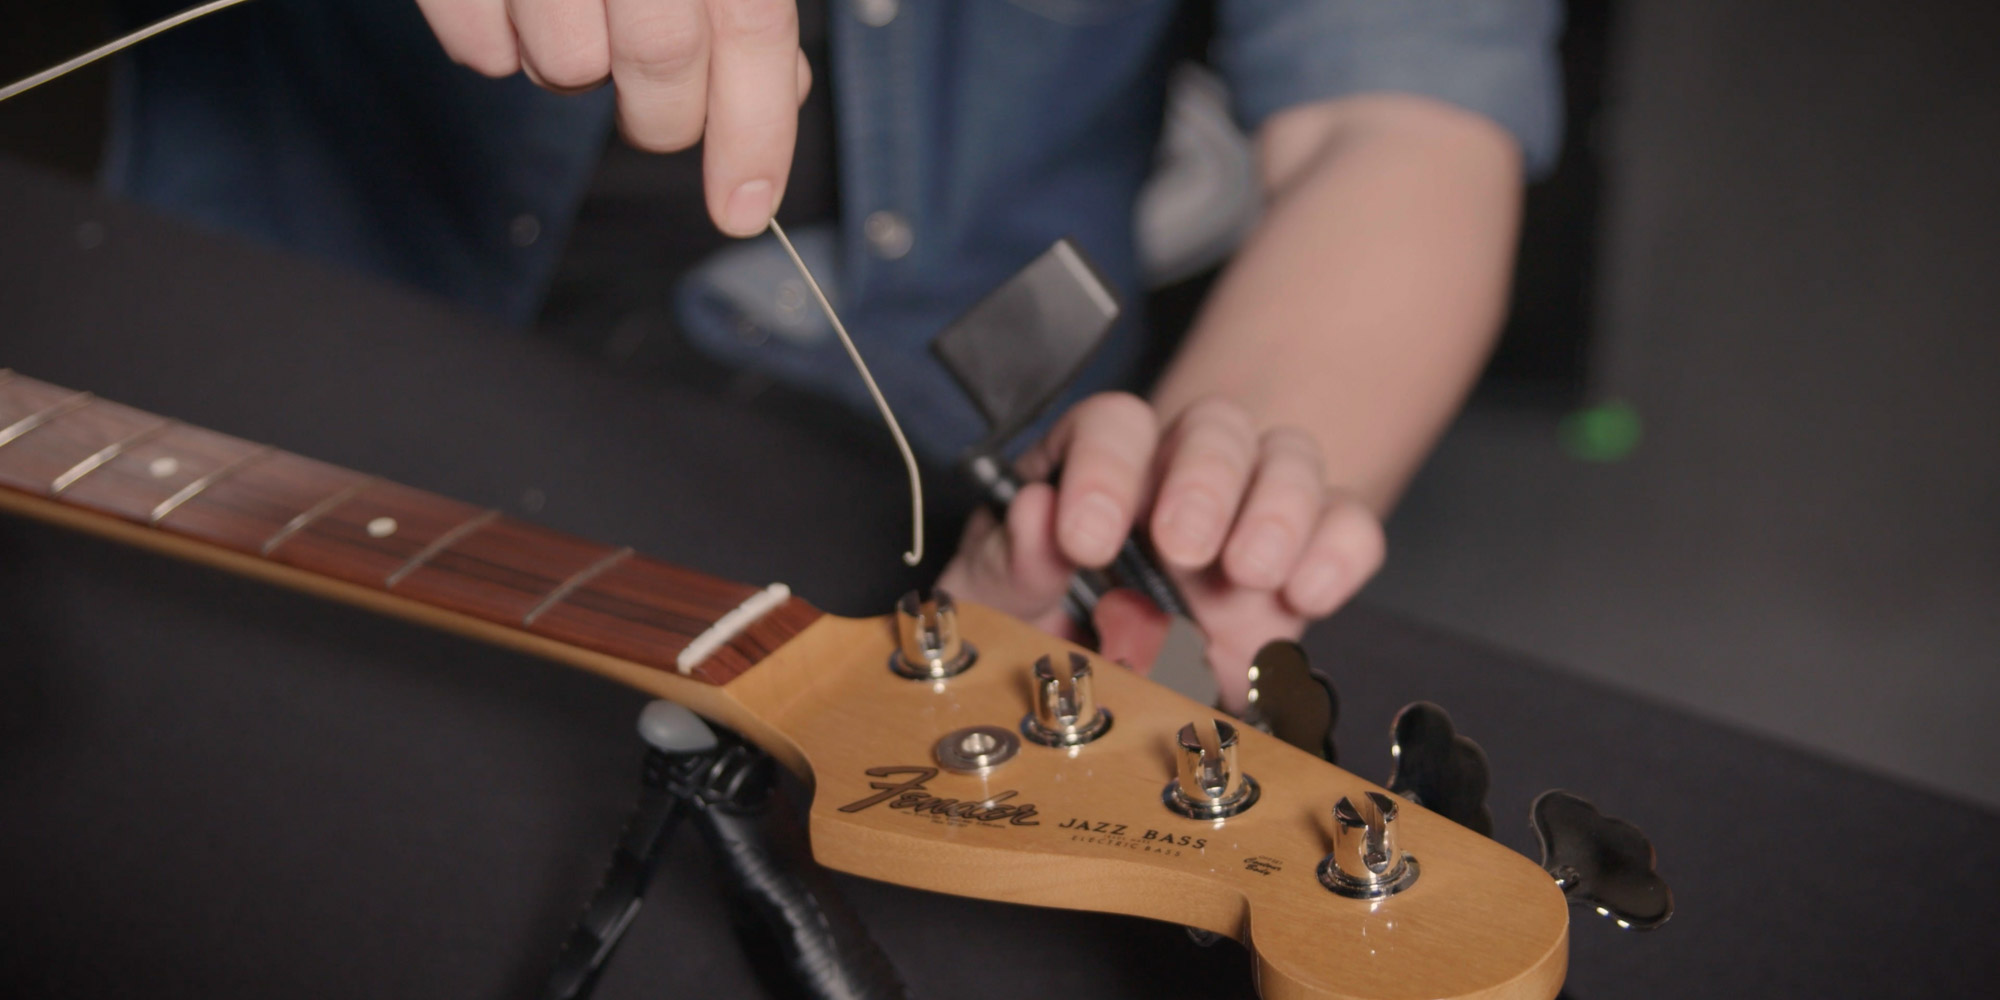
A new string is longer than needed, so shorten it before inserting it into the tuner. Lay it along the fingerboard and headstock and leave a reserve of about two machine heads. That gives enough length for winding without too many wraps.
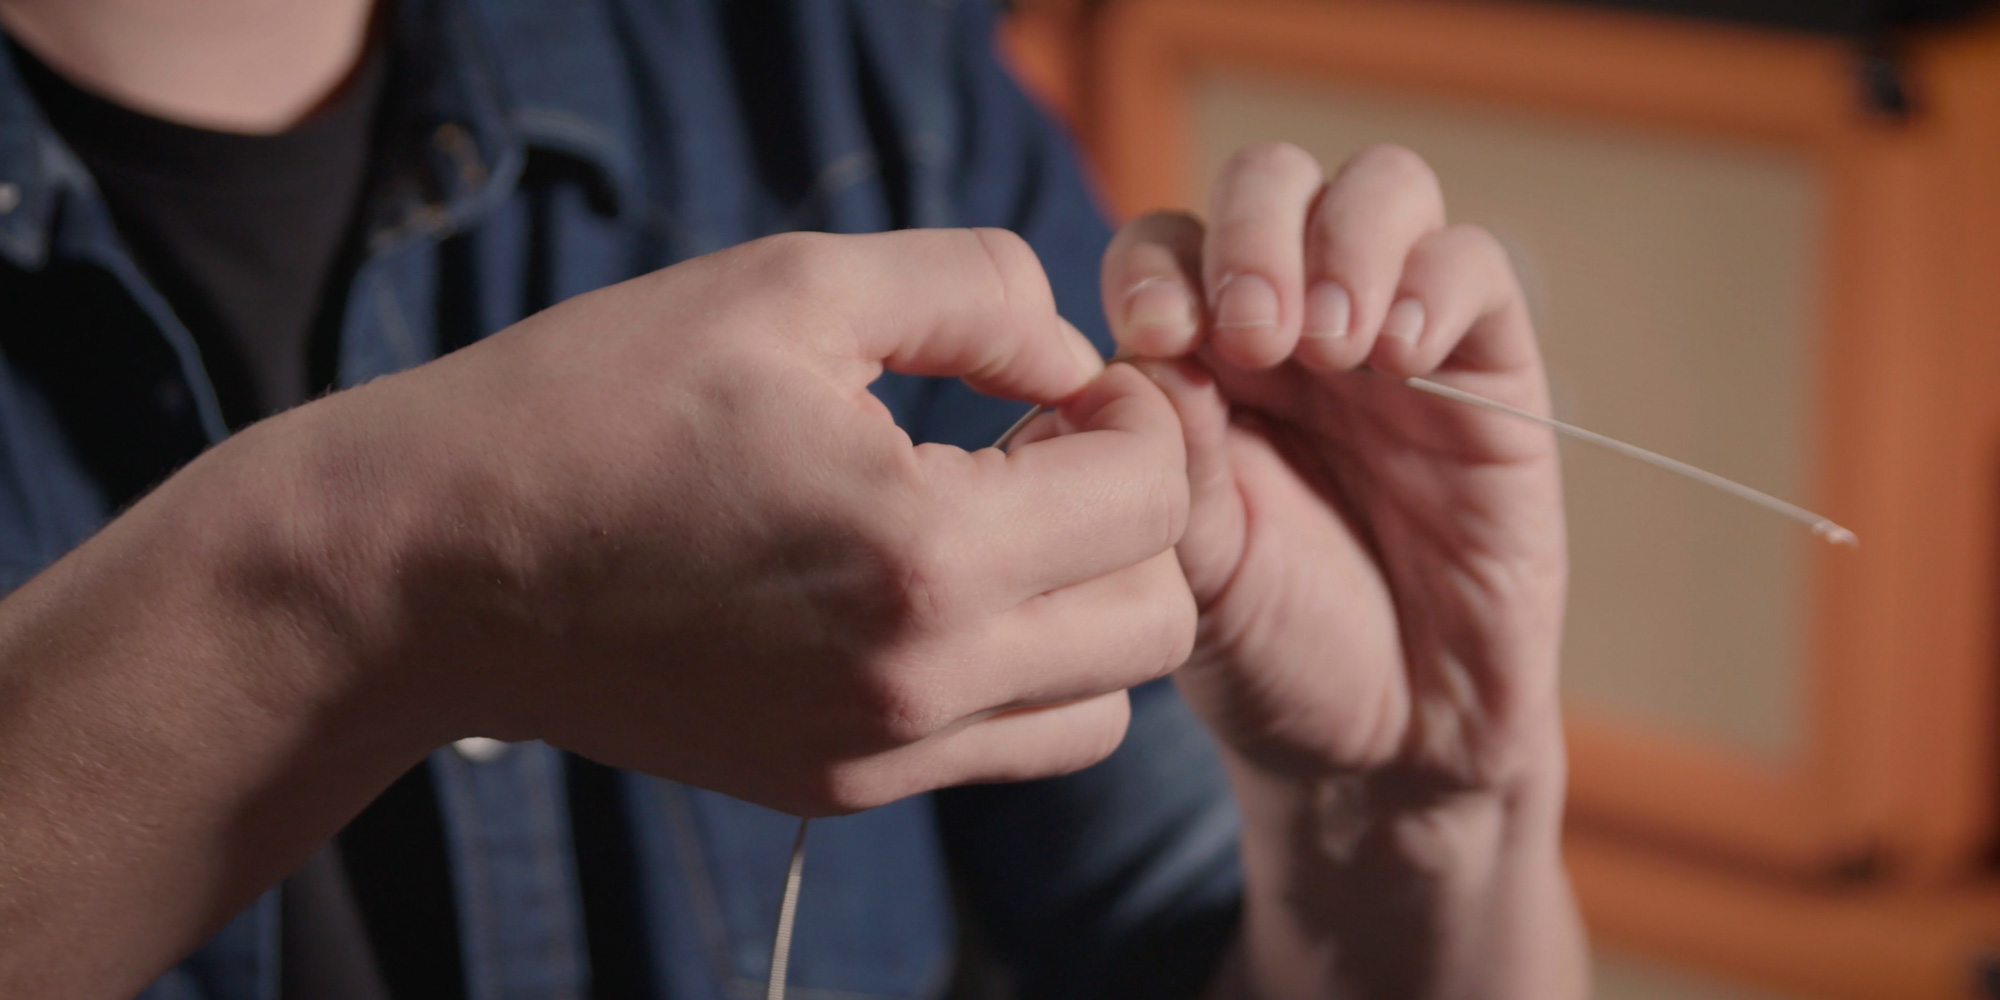
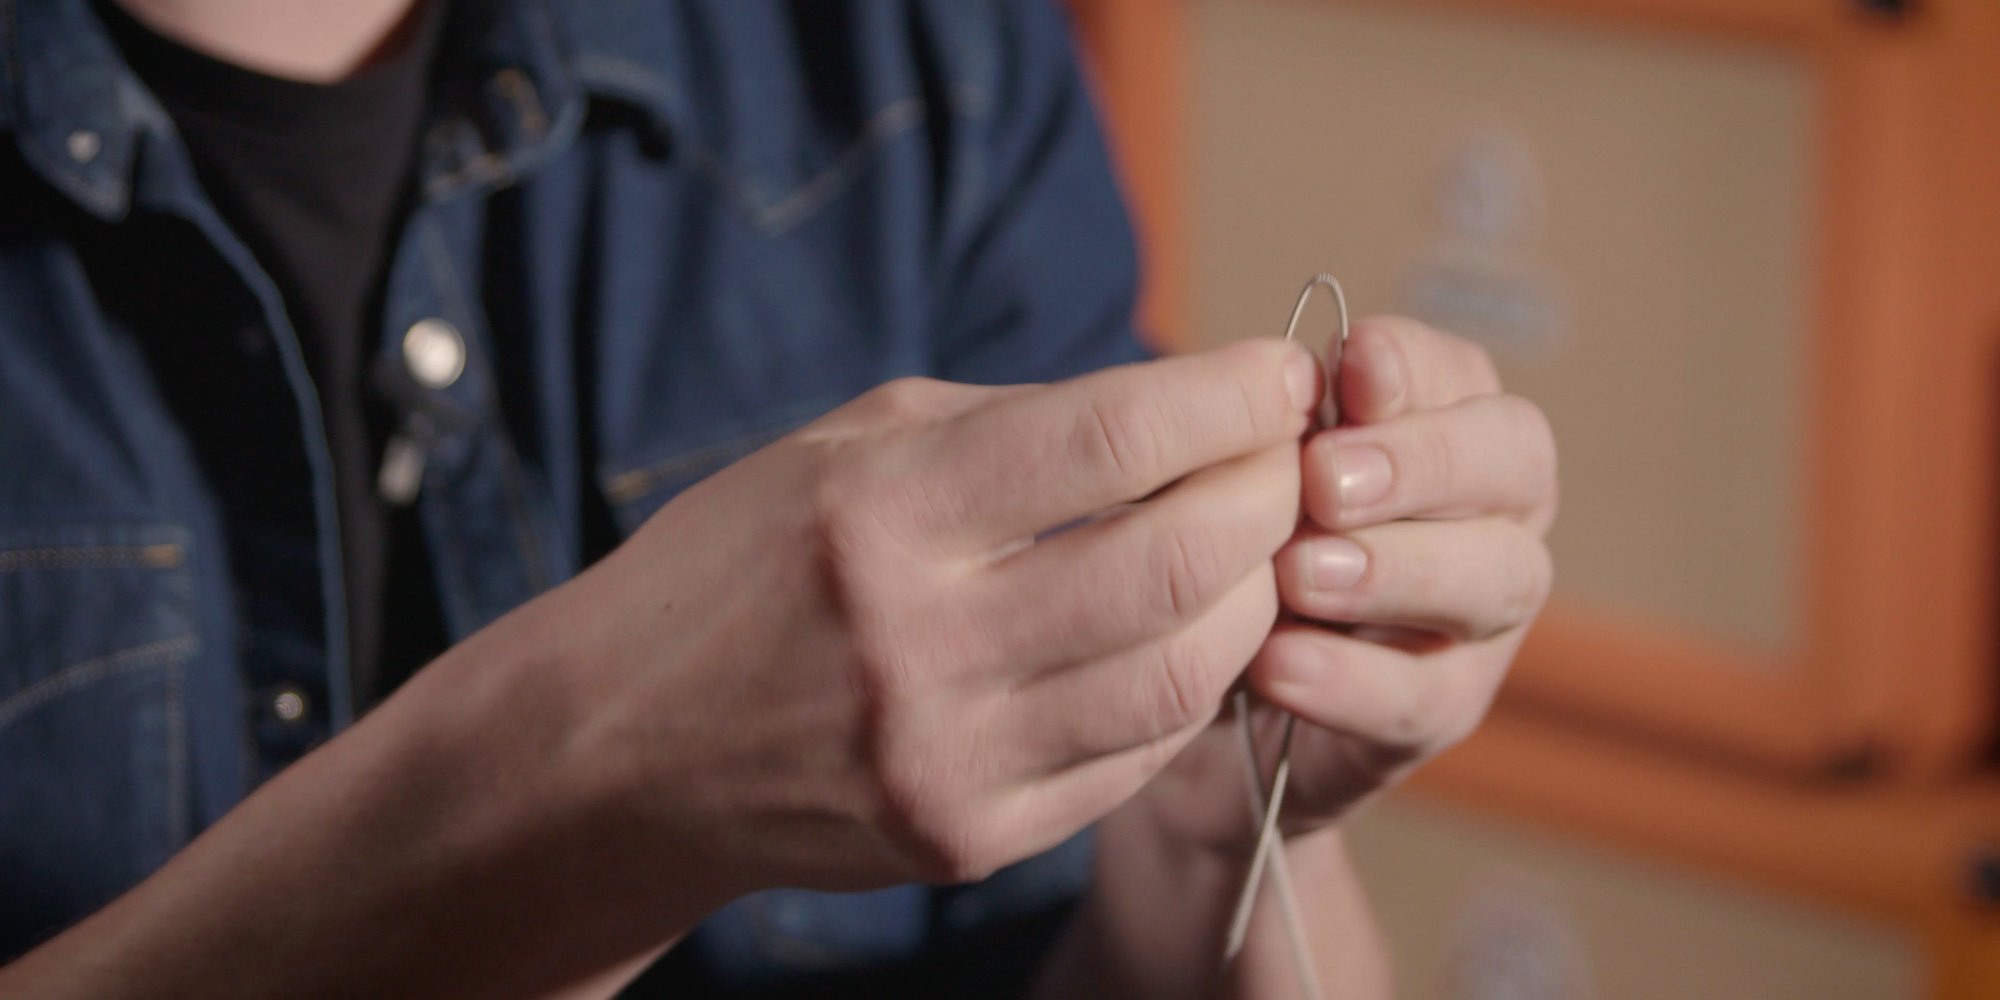

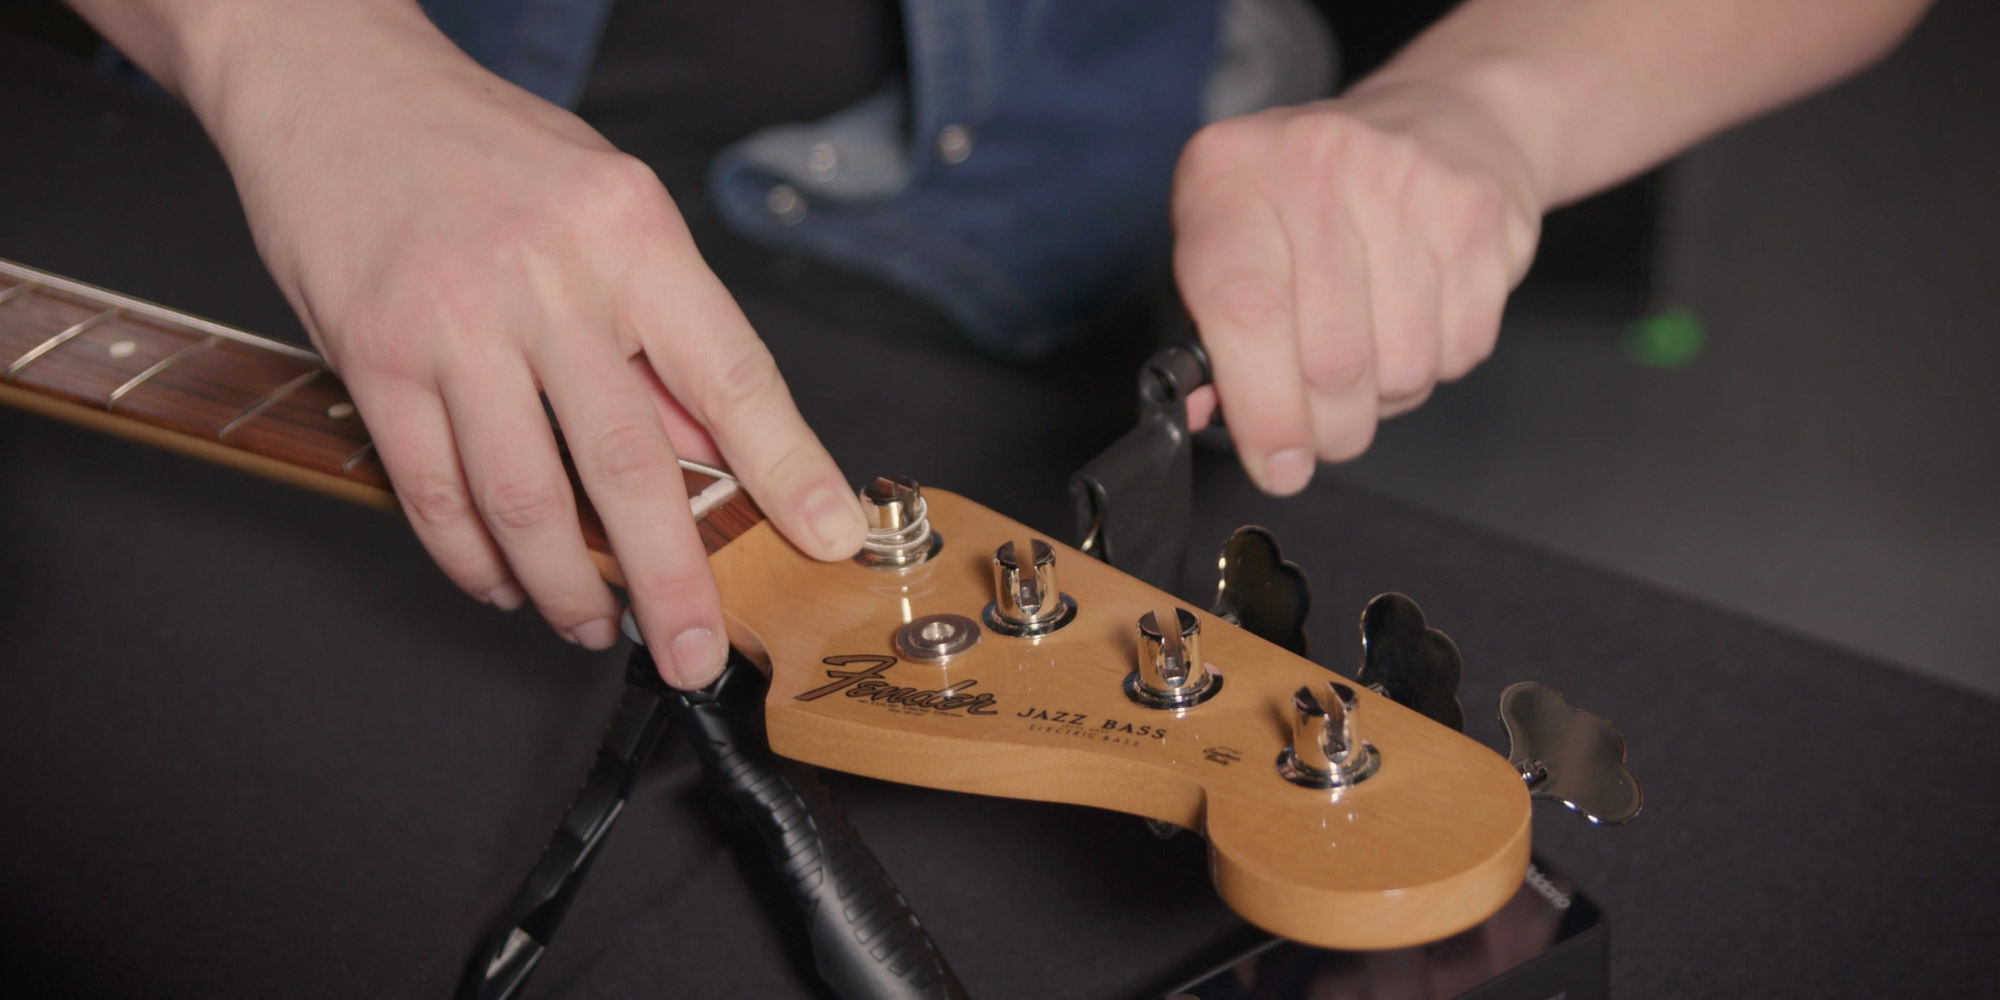
7. Wind the string onto the tuner
Set the tuner so the slot is at roughly a 45° angle to the frets. Insert the string into the hole from the far side and start winding it towards you along the nut.
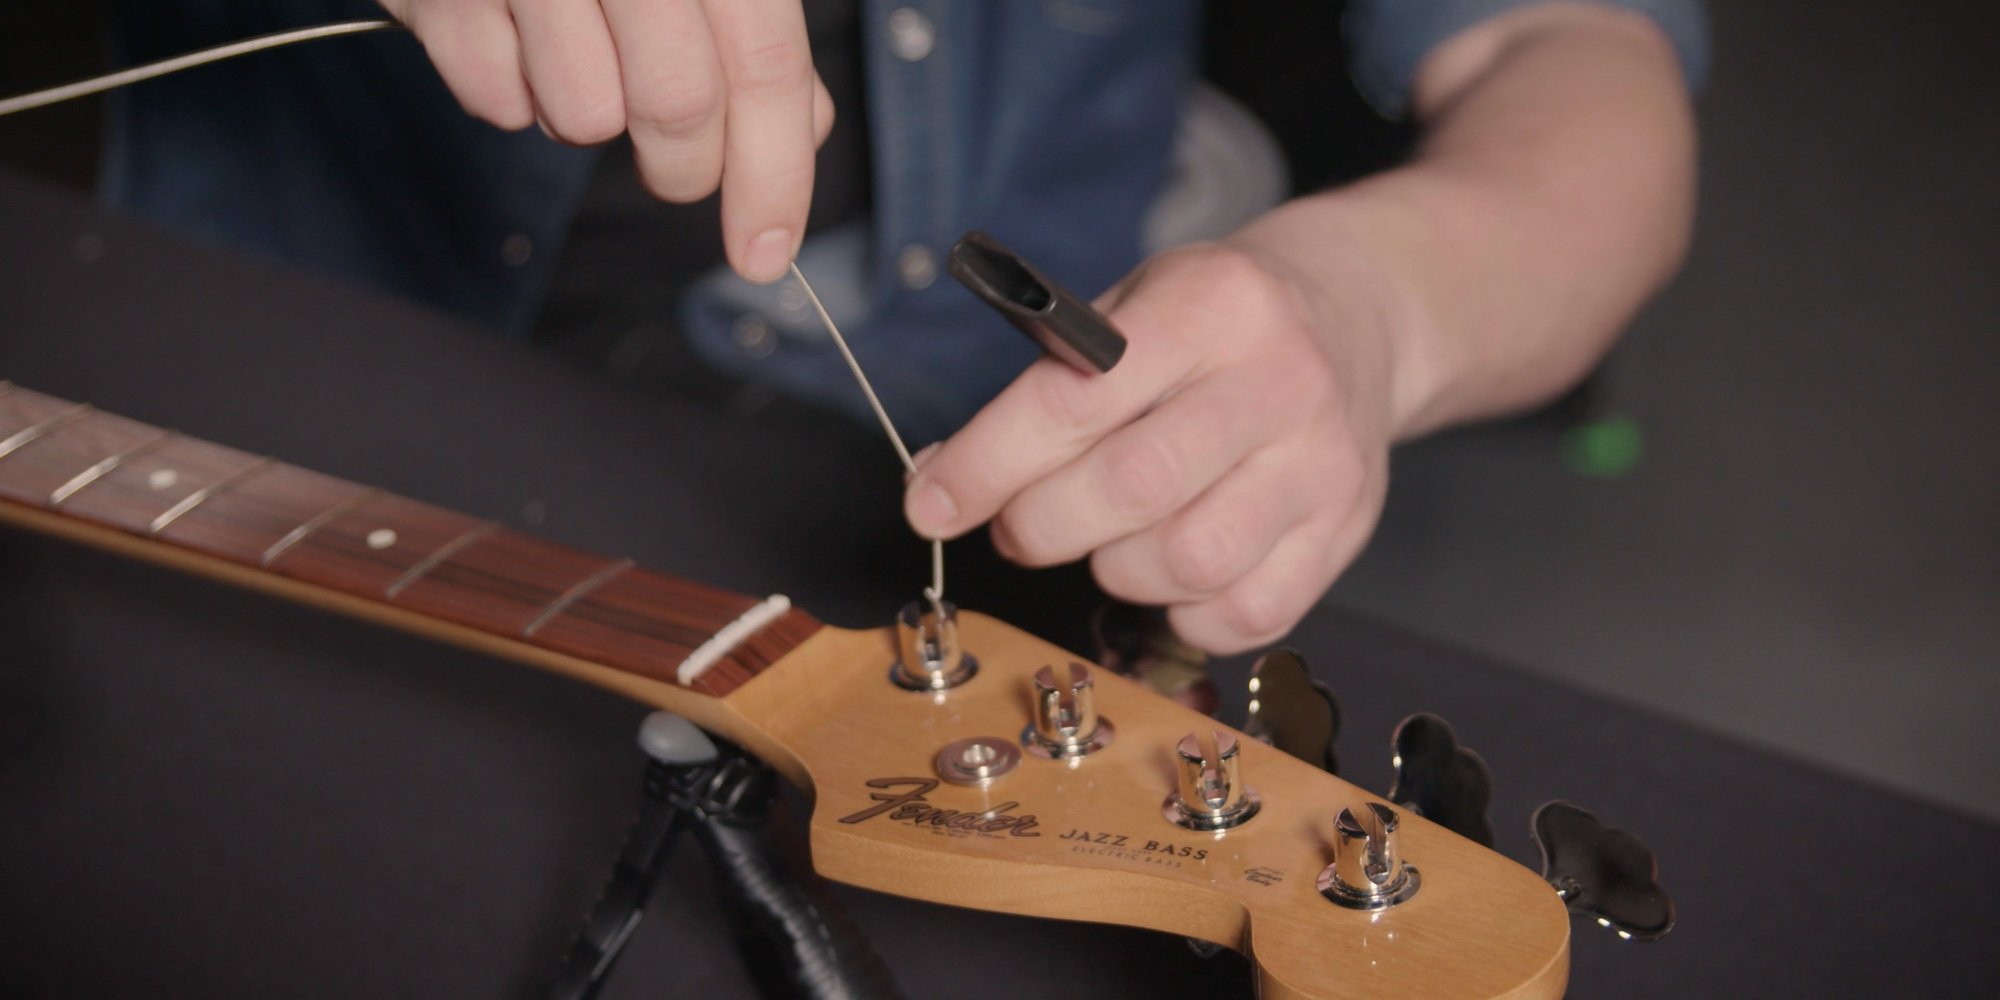
About three wraps on the tuner are ideal. Too many wraps can reduce tuning stability, while too few may not hold the string securely enough.
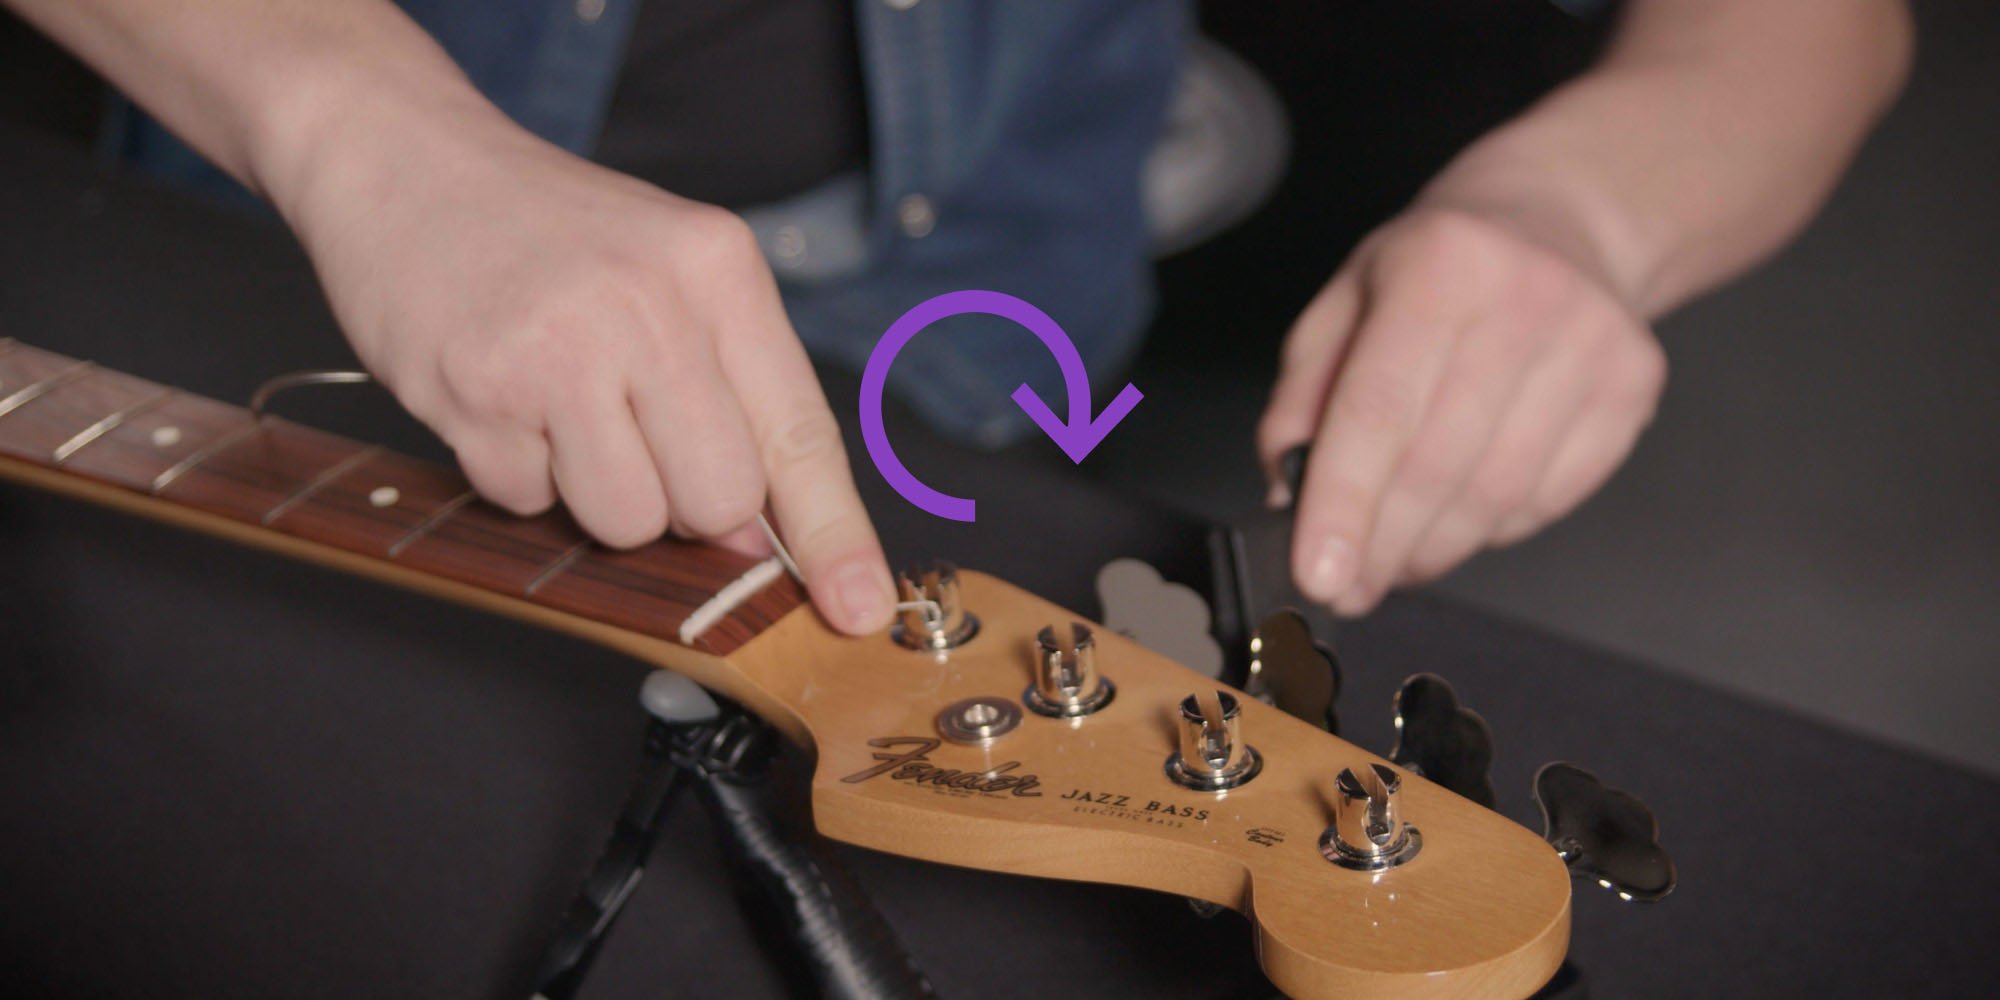
After half a turn, keep pressing the string towards the post with your finger and continue winding clockwise with the winder. You will gradually feel the string tighten.
8. Stabilise the strings before final tuning
New strings naturally slacken after fitting, so the bass can go out of tune quickly. Tune them only roughly at first and gently stretch each string several times along its length. Start around the middle of the body and move towards the headstock.
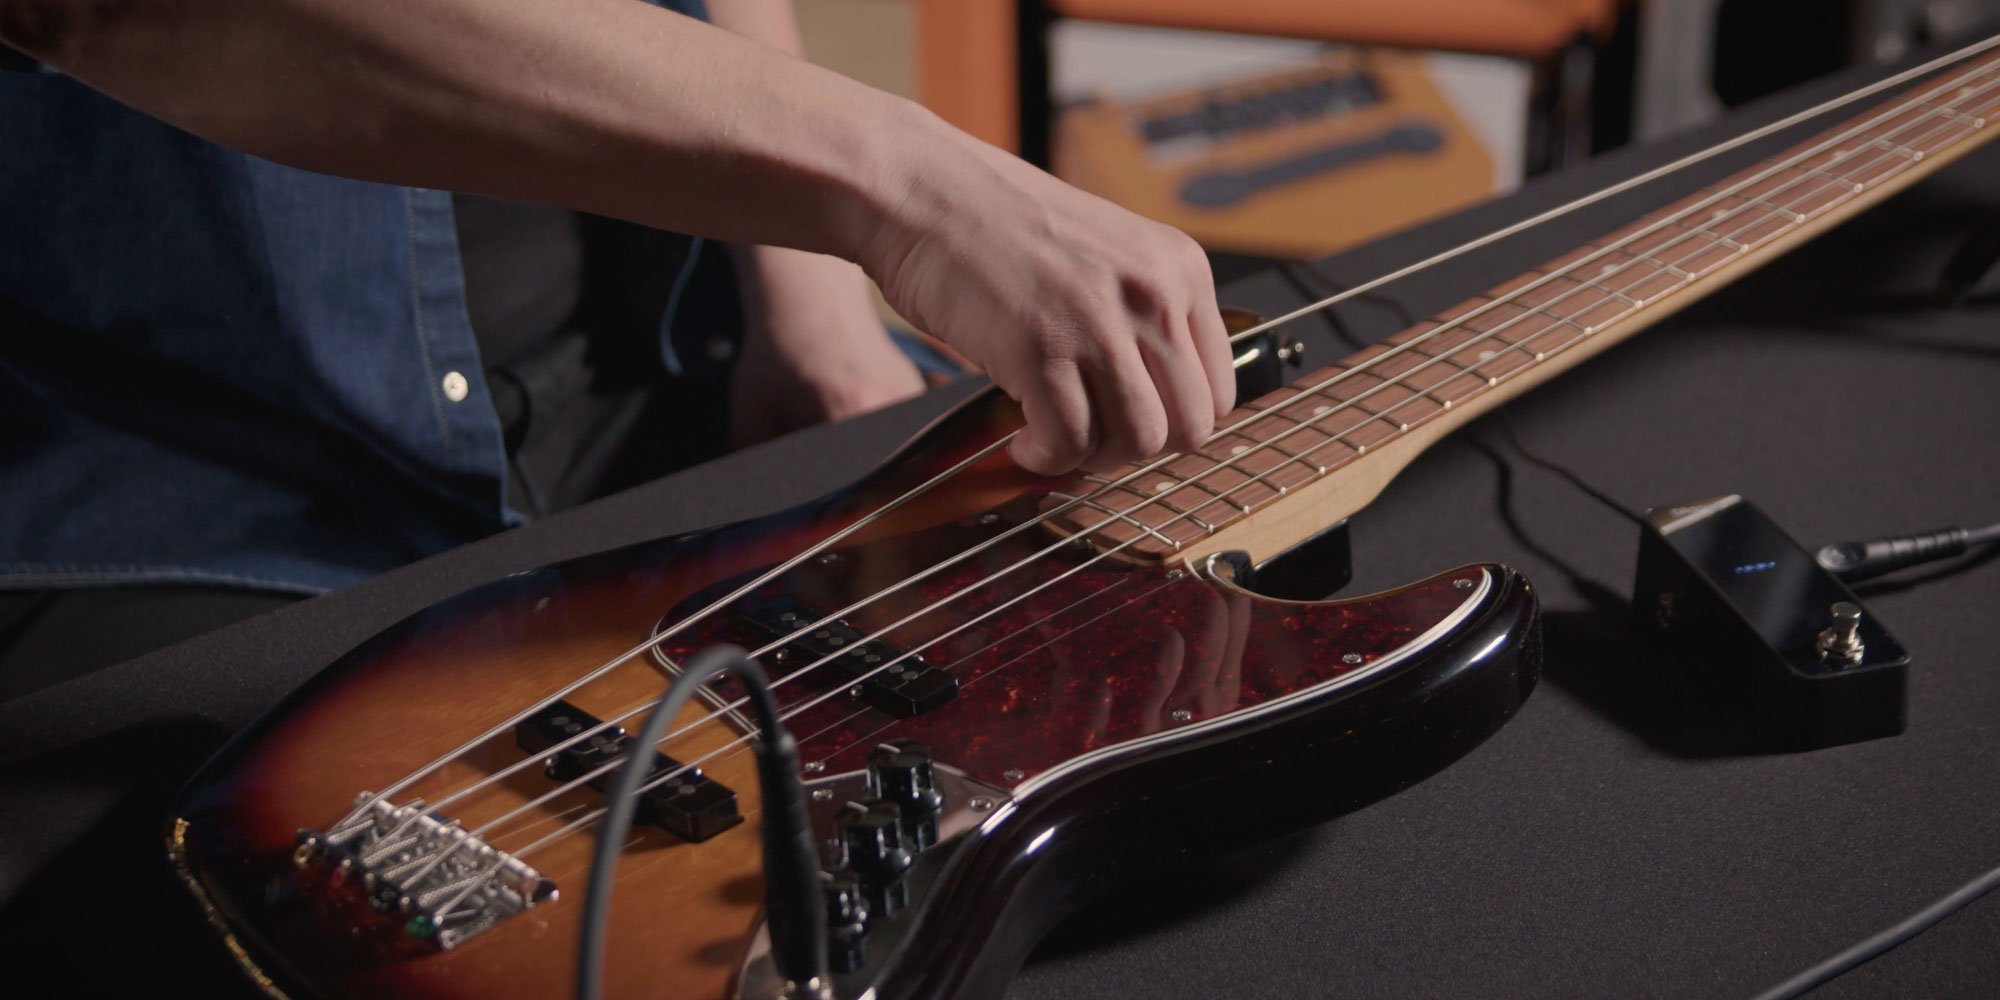
Check the tuning after every stretch. At first the strings will be slightly flat; repeat the process about three times or until the tuning drop is no longer significant.
Finally, gently press each string where it meets the bridge. The string will seat better and the instrument will be more stable in intonation.
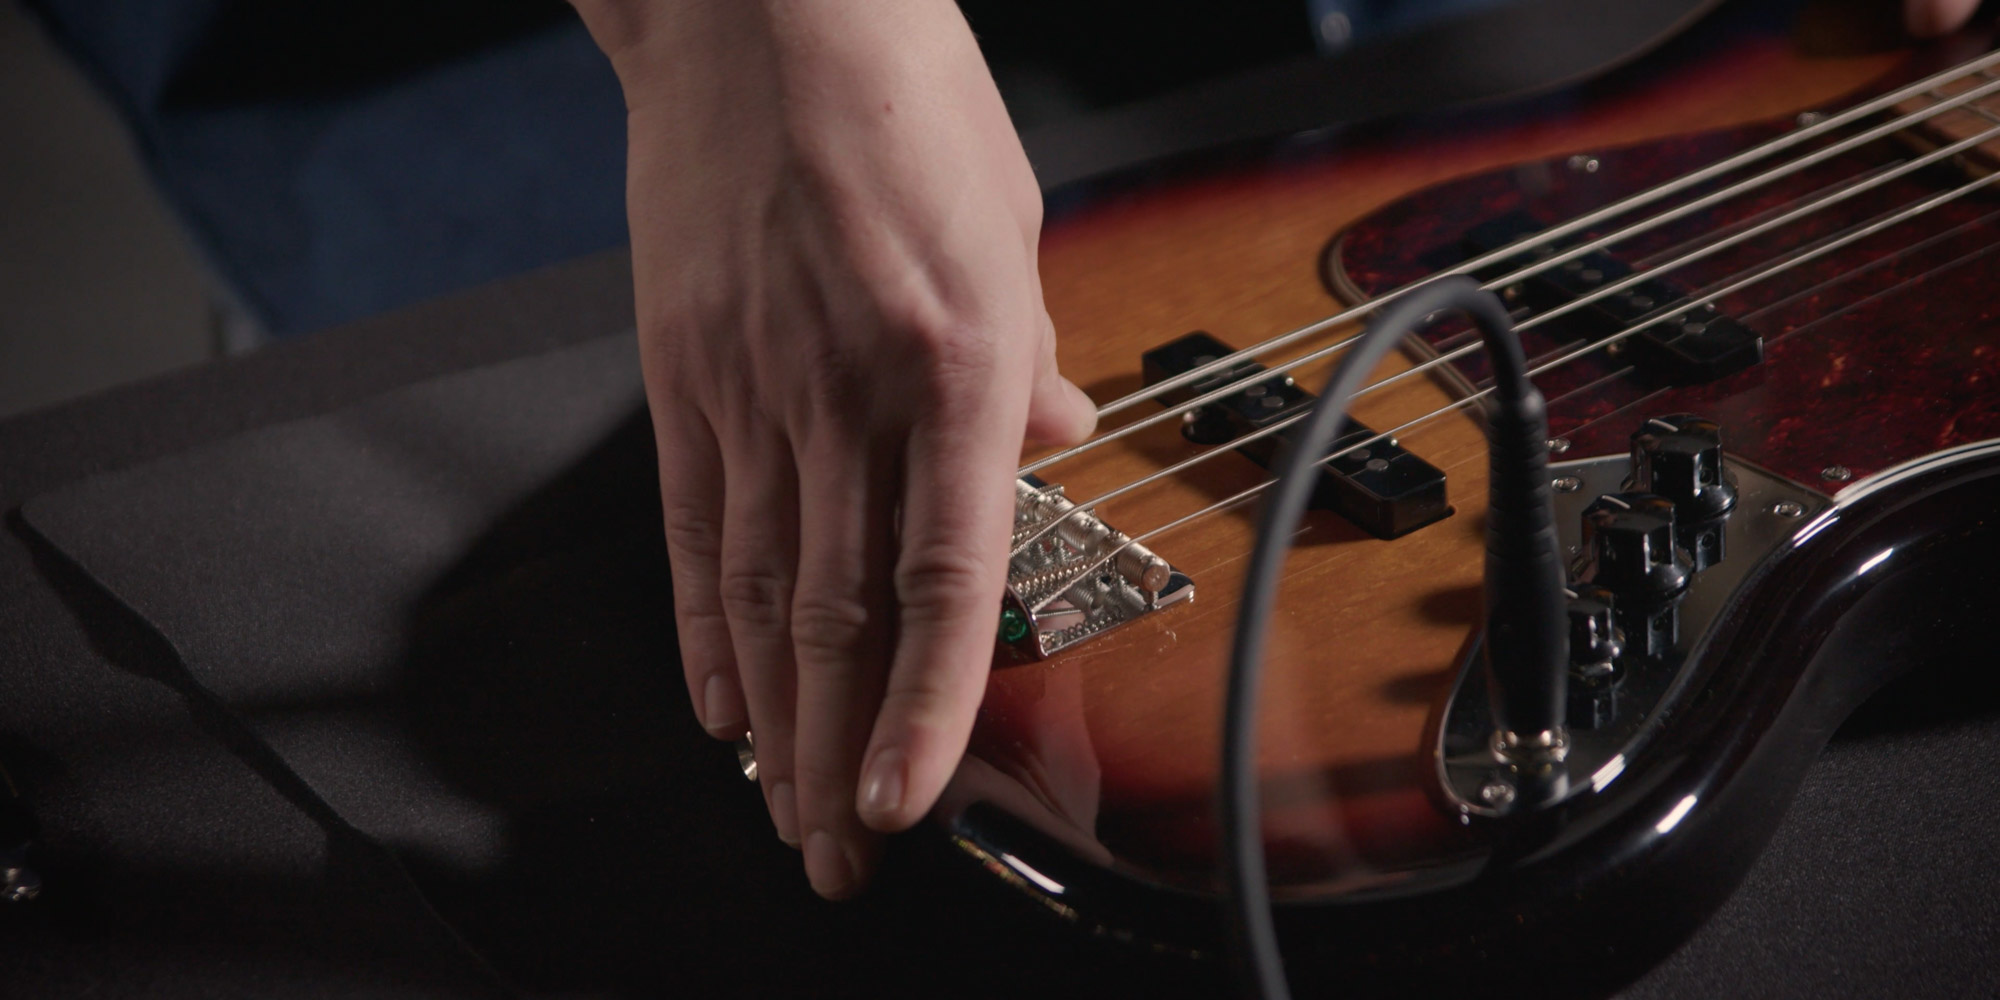
When the strings settle, tune the bass accurately with a tuner. Only then does it make sense to judge the final sound and feel of the new set.
Safety matters more than speed when changing strings. If you are not sure whether the string is loose enough, turn the machine head down a few more times. Only when you no longer feel strong tension should you pull it out or cut it.
Clean the bass while the strings are off. That is when the frets, bridge and area under the strings are easiest to reach. Avoid aggressive household cleaners; on a musical instrument it is safer to use products made for guitar finishes and fingerboards.
When choosing a set, consider the instrument and the sound you expect from the bass. Softer fingerstyle playing often works with a gentler response, while harder slap or pick playing can suit strings with a stronger attack and firmer tension.
If you change the whole set at once, keep the strings organised. Unpack them on a clean surface, check the markings and work systematically from the thickest to the thinnest. This reduces the risk of fitting the wrong string to the wrong tuner.
Use about three wraps as a practical aim, not a mathematical rule. The important thing is that the string runs cleanly from the tuner to the nut, the wraps do not cross unnecessarily and the string settles smoothly while tuning.
Do not jerk the string when stretching it. Lift it gently in sections and check it with a tuner after each round. The goal is not to overstress the string, but to help it seat at the tuner, bridge and nut.
After the first tuning, let the bass rest for a moment and then check tuning again. A new set often keeps settling for several minutes, especially after cutting, winding and stretching. A quick check before rehearsal or a gig saves constant retuning while you play.
If you are unsure after the change, check the bridge, nut and winding direction again. These small details often decide whether the new set will tune reliably.
After the change, play a short passage in different positions on the fingerboard. If a string is badly out of tune, sounds dull or visibly moves on the tuner, revisit the winding and seating. Most small issues are solved by careful tightening, stretching and retuning.
Video guide: changing bass guitar strings
If you want to see the whole process in practice, watch the video with Matej Krivánek. It complements the photos and shows safe loosening, measuring spare length, bending and winding the strings.
Frequently asked questions
How often should bass strings be changed?
For normal playing two or three times a week, roughly every three months is a sensible guide. If you play intensely, have sweaty hands, record or perform live, change them more often.
Which strings are suitable for bass guitar?
For most players, a universal set around .045 to .100 is a good start. Nickel strings sound softer, steel strings are punchier and flatwounds feel smoother while giving a warmer tone.
How many wraps should a string have on the tuner?
Aim for about three wraps. They help tuning stability without creating an unnecessarily large wind that may settle poorly.
Why loosen strings before cutting them?
A string under tension can snap out when cut, and the sudden release also stresses the neck. It is safer to loosen every string before cutting or pulling it out.
Why bend a string before cutting it?
Bending the string at the cut point helps keep the winding together and reduces the risk that the shortened string will lose resonance. Bend first, then cut just behind the bend.
Why do new strings go out of tune after fitting?
New strings settle at the bridge, tuner and nut after the first tensioning. Tune them roughly first, stretch them gently and fine-tune only when they stop dropping noticeably.